Store files in Supabase
Supabase Storage keeps your app's files, such as profile photos, product pictures or PDFs. Files live in buckets, which work like top-level folders, each with its own access rules. Storage Templates give you three ready-made functions to upload, download and delete files: test them in the editor, then use them from your screens.
Before you start
- Connect Supabase. Nowa can create the Supabase project for you while you connect.
- A bucket, and policies that allow what you want to do. See Create a bucket and Let your app use the bucket.
- If your bucket's policies need a signed-in user, sign in first. See Sign users in with Supabase.
Create a bucket
The templates don't create buckets, so make one in Supabase first, or ask Nowa AI to do it with the Supabase connector.
- In Nowa, click ⋮ in the Supabase panel, then Open Supabase.
- Open the Storage page and click New Bucket.
- Enter a name for the bucket, such as
avatars. - Choose whether the bucket is public. Buckets are private unless you make them public.
- Click Create Bucket.
| Public bucket | Private bucket | |
|---|---|---|
| Who can view a file | Anyone who has its link | Only people your policies allow |
| Good for | Profile pictures, product photos, blog images | Personal documents, such as invoices |
| Uploading and deleting | Needs a policy | Needs a policy |
Let your app use the bucket
A new bucket starts locked: Supabase doesn't allow any uploads until a policy says who may. That's true even for a public bucket, which only makes files readable by their link, so without a policy that lets users upload, uploadFile fails with an RLS Policy Error. Each storage function needs its own permission:
| Function | The policy must allow |
|---|---|
uploadFile | Adding files (insert) |
downloadFile | Reading files (select) |
deleteFile | Deleting files (delete) and reading them (select) |
The quickest way is to ask Nowa AI in Agent mode with the Supabase connector on, for example: "Let signed-in users upload, read and delete files in the avatars bucket."
To do it yourself, open the SQL Editor in Supabase, paste the snippet below (with your bucket's name instead of avatars) and click Run:
create policy "Signed-in users can upload to avatars"
on storage.objects for insert to authenticated
with check (bucket_id = 'avatars');

create policy "Signed-in users can read avatars"
on storage.objects for select to authenticated
using (bucket_id = 'avatars');

create policy "Signed-in users can delete from avatars"
on storage.objects for delete to authenticated
using (bucket_id = 'avatars');
These policies let every signed-in user work with every file in the bucket, so you'll need to sign in before you test. To keep each person to their own files, ask Nowa AI for that instead. Supabase's Storage access control guide has more examples.
Add the storage functions
- In the Supabase panel, click + next to Generate a Query.
- Click Storage Templates ("File operations").
- Click a template. Nowa generates the function straight away, shows
Function "uploadFile" generated successfully!and closes the dialog. The function appears under Storage.
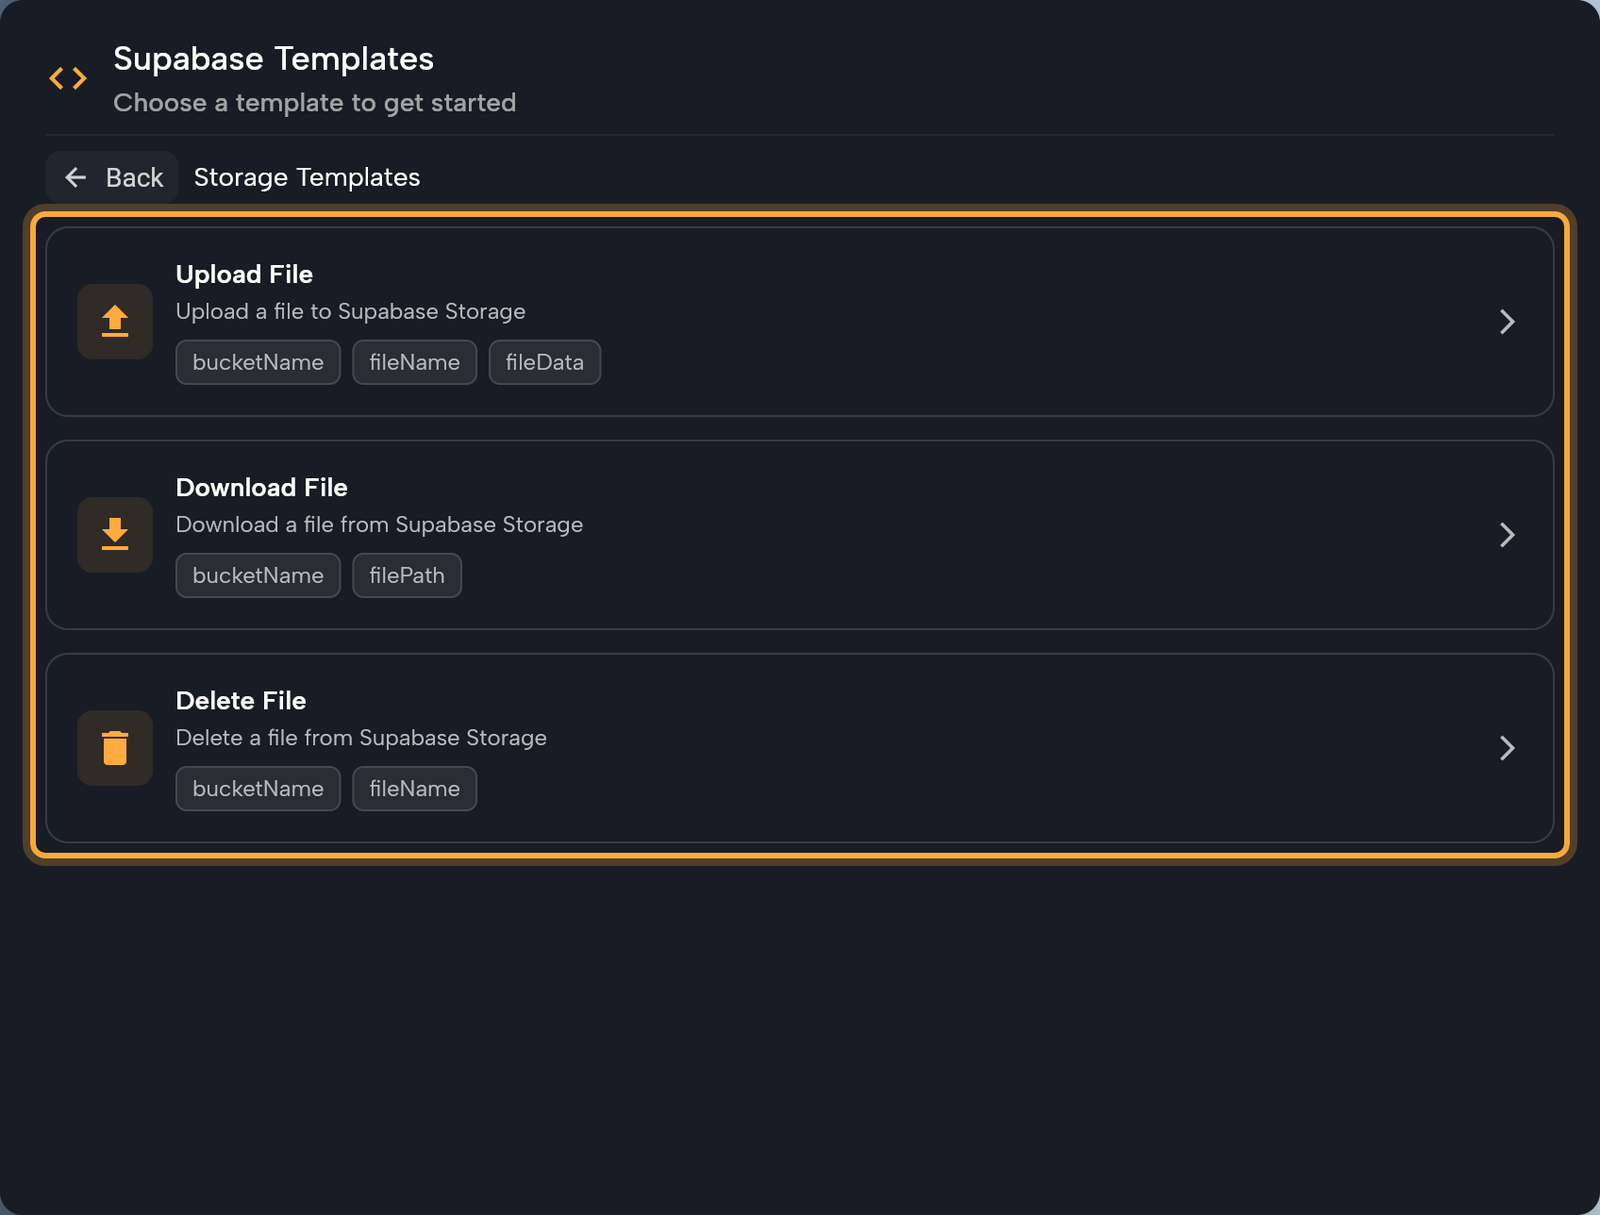
| Template | Function | Inputs | Returns |
|---|---|---|---|
| Upload File | uploadFile | Bucket Name, File Name, File Data | Nothing |
| Download File | downloadFile | Bucket Name, File Path | The file's data |
| Delete File | deleteFile | Bucket Name, File Name | Nothing |
The names are fixed, so you get one of each, and generating a template again replaces the earlier function. No template covers public links, listing, moving or copying files: ask Nowa AI for those (see Use the functions in your app), or change a function with Edit Code (see Change a function's code).
Test the functions
Testing runs on your real bucket, so it's the quickest way to check that your bucket and policies are set up right.
- Click
uploadFileunder Storage. The test panel opens at the bottom of the editor. - Type a Bucket Name and a File Name. The file name can include folders, such as
images/photo.png. - Click File Data and pick an image from your device. The field then shows the file's name.
- Click Run. When the upload works, the result reads
result null: the function has nothing to send back. - Click
downloadFile. - Type the same Bucket Name. For File Path, type the name you uploaded under.
- Click Run.
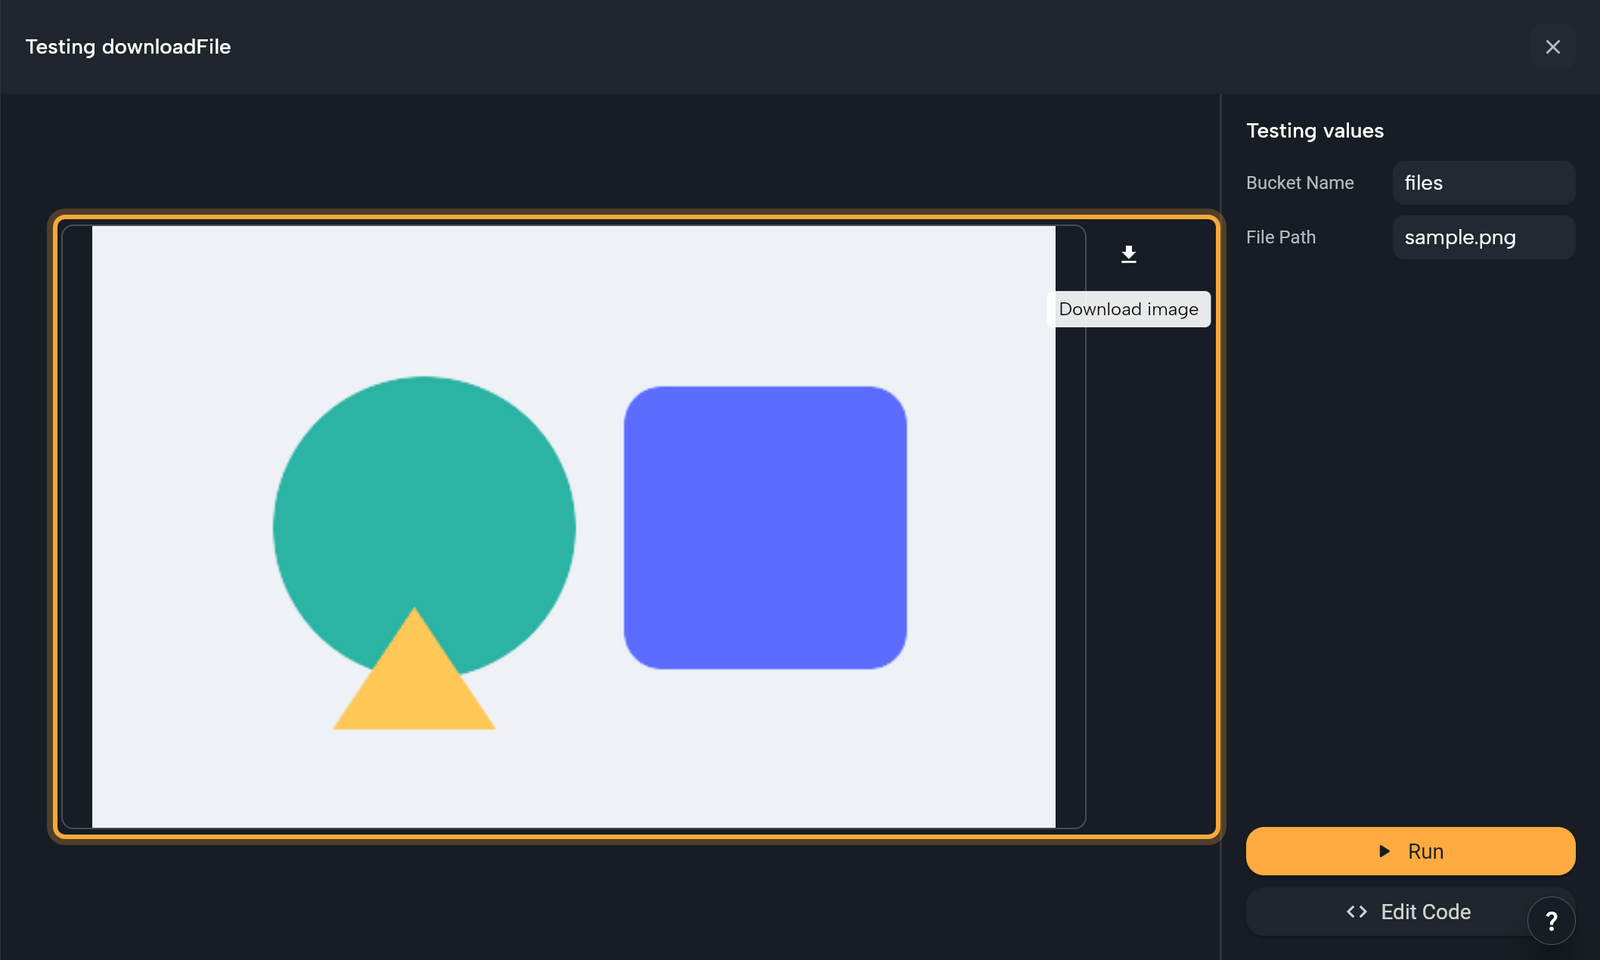
A downloaded image (JPG, PNG, GIF or WebP) shows as a preview, with a download icon (tooltip Download image) to save it. If the preview is cut off, drag the top edge of the test panel up. Any other file shows File downloaded successfully, its type and size, and Save File to Disk.
The generated uploadFile doesn't replace existing files, so use a new File Name each time. If the name is taken, the result shows an Error: with "The resource already exists". To remove a file, click deleteFile, fill in Bucket Name and File Name, and click Run.
If a test fails with RLS Policy Error, your bucket needs a policy that allows that action. See Let your app use the bucket.
Tests run against your real Supabase project. uploadFile adds a file to your bucket and deleteFile removes one for good.
Use the functions in your app
Both flows below run from an event, such as a button's On Pressed. See Build logic in Circuit.
Upload a picked image
- Add
showMediaPicker, which opens the camera or the photo library. Source Type starts ascamera: choosegalleryto pick from the photo library. With Play on a computer, the camera can't open, so usegalleryto test there. If Nowa lists missing packages or permissions under Dependencies, click Hot Fix. See Show dialogs, sheets, snackbars and pickers. - Turn on await, so the next steps wait until the person has picked, then use Store result → New Variable. The variable holds a list of the files the person picked. The list is empty if they cancel without picking.
- Below it, click + and choose Add If statement. Click its Condition label, open LOCALS, pick that variable and choose
isNotEmpty, so the next steps only run when a picture was picked. Add steps 4 and 5 in its True branch. - Add a node and pick that variable from LOCALS. Click +, choose
first(the first picked file), thenreadAsBytes(its content). Turn on await and store the result in a new variable. This is the file's data. - Add
SupabaseService→uploadFile. Type the Bucket Name and File Name (a name that isn't taken yet), and link File Data to the variable from step 4.
Show a downloaded image
- Select the Image widget. In its source field, open the Bytes tab, click the Bytes label and choose Create Variable.... Nowa adds a screen variable for the file's data and links it. See Images, videos and other files.
- In the Circuit of your event, add
SupabaseService→downloadFileand fill in Bucket Name and File Path. - Turn on await. Set Store result to Pick Variable, click the Variable label and choose the variable from step 1.
- Add refresh from LOCALS, so the screen redraws when the data arrives.
To show many images, such as a photo feed, a public bucket is simpler. Files in a public bucket have web addresses, so an Image can load them from its Network tab: ask Nowa AI for a function that gives you a file's public link. See the Supabase Storage docs.
Ask Nowa AI for anything else the templates don't cover, such as a list of the files in a folder, or moving and copying files.
Or ask Nowa AI. In Agent mode with the Supabase connector on, try: "Create a public avatars bucket that lets signed-in users upload, then add a button on my profile screen that picks a photo and uploads it."