Manage your Supabase backend
Your app's backend is everything behind its screens: the tables and access rules in your Supabase project, its edge functions and its storage buckets. Nowa can save that backend into your project so it travels with your app, rebuild it on another Supabase project (handy for templates and copies), and let Nowa AI keep working on it.
| Part of a backend | What it is |
|---|---|
| Migrations | Step-by-step instructions, saved as SQL files, that build your tables, access rules and policies. Running them on an empty Supabase project recreates the same structure. |
| Edge functions | Small programs that run on Supabase's servers, for jobs that shouldn't happen inside the app, such as talking to a payment service. |
| Storage buckets | The top-level folders that hold your files. |
Before you start
- Connect Supabase with Connect. Pulling and setting up a backend work through your Supabase account, so if you connected with Use Keys, Nowa opens the authorization step first.
Save your backend into the project
Pull Backend Files copies your Supabase backend into a supabase folder in your Nowa project. Use it when the backend should travel with the project, for example before you share it, copy it or turn it into a template. If you use Git, commit that folder with your project, as Nowa suggests when it's done.
- Click ⋮ in the Supabase panel, then Pull Backend Files.
- Click Pull in the Pull backend files dialog.
- When Backend files pulled appears, click Done. The dialog reports how many migrations, edge functions and storage buckets it wrote.
Nowa saves one file for each migration in your project's history, the code of each deployed edge function, and a list of your storage buckets with a short setup note. Pulling only reads your Supabase project, so nothing there changes. Each pull replaces the migrations, edge functions and bucket list saved before, and anything else in the supabase folder stays.
Your table data, the files in your buckets, your auth provider settings (how people sign in, such as Google sign-in) and your secrets (private keys your edge functions use) aren't copied. Working in the code? See What Nowa adds to your code.
If Nowa shows Pull failed on a Supabase project that has no migration history, Supabase has no recorded migrations to copy: the project's tables weren't made through migrations. The message reads "This Supabase project has no migration history, so its schema cannot be captured. Recreate it through migrations and pull again.", or it can be an error that names supabase_migrations.schema_migrations. The Supabase connector can apply migrations. See Let Nowa AI manage your backend.
Set up a backend that came with a project
Some projects come with a backend: a template, a copy of someone's project, or one you saved with Pull Backend Files. Set up Backend builds that backend on your own Supabase project, so the app finds the tables, edge functions and buckets it expects.
- Connect Supabase with Connect. If the project has migration files that your Supabase project hasn't applied yet, Nowa opens Set up Supabase backend. It tells you how many migrations it will apply.
- Click Set up. Click Skip to do it later.
- Watch Setting up backend. Nowa applies the migrations your Supabase project doesn't have yet, deploys each edge function and creates the storage buckets that don't exist yet, then refreshes your tables. It stops at the first step that fails.
- When Backend ready appears, click Done, or click Connect app with AI.
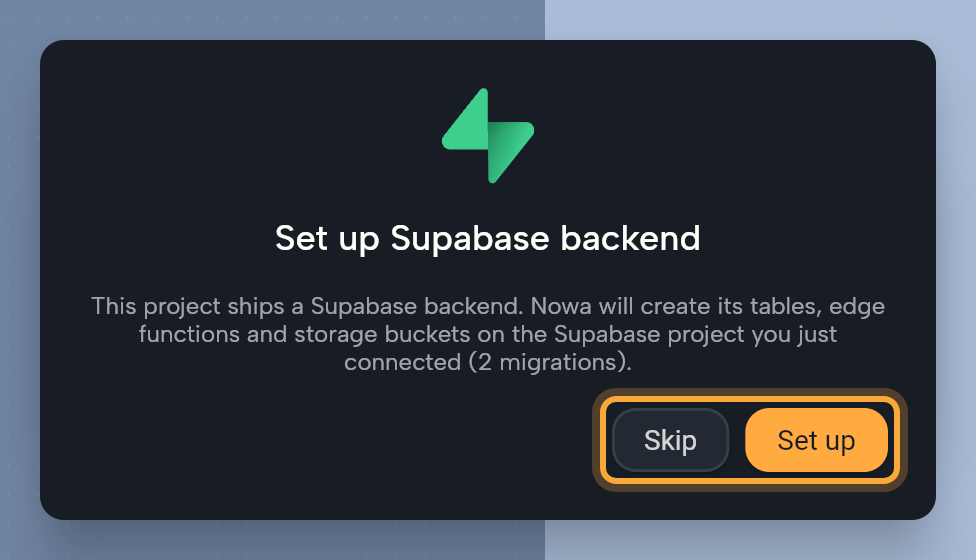
To run it later, click ⋮, then Set up Backend. The item appears when Nowa finds migration files in the project, which it checks when you connect and after you pull. After you reopen the project it's missing until Nowa checks again: click ⋮ → Change API Keys → Connect, then Select the same Supabase project. If nothing is left to apply, no dialog opens.
If you connected with Use Keys, Nowa asks you to authorize first. Afterward, click ⋮, then Set up Backend again.
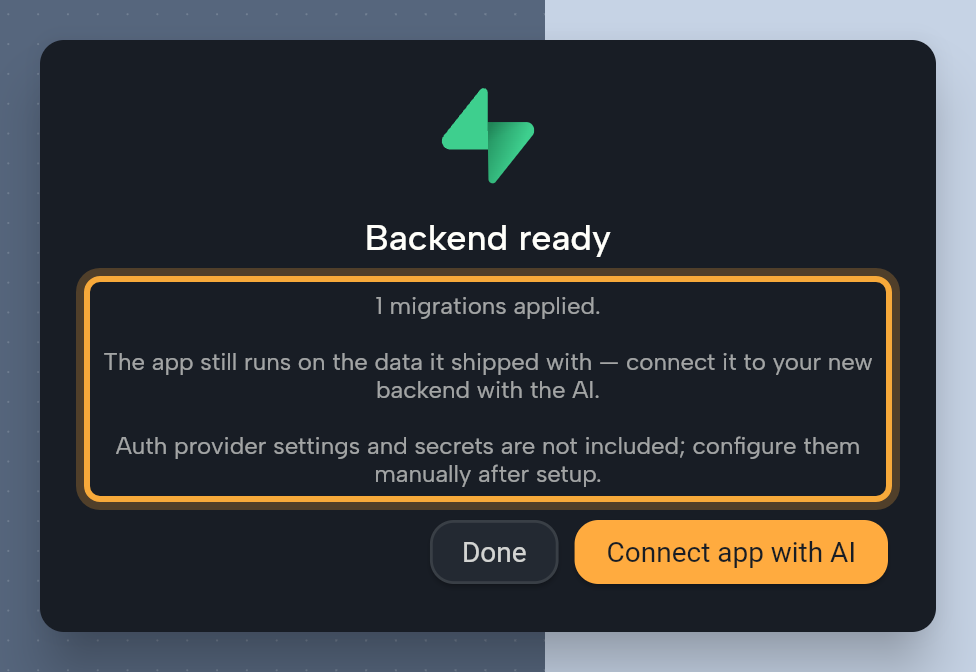
Backend ready lists what Nowa did: how many migrations it applied, edge functions it deployed and buckets it created, or "Your backend was already up to date." It also shows the setup note that came with the backend. For a backend you saved with Pull Backend Files, the note reads: "Auth provider settings and secrets are not included; configure them manually after setup." To finish, set them up in your Supabase project: sign-in settings under Authentication → Sign In / Providers (see Sign users in with Supabase), and secrets on the Edge Function Secrets page, where you enter each Key and Value and click Save.
The dialog also reminds you that your app still runs on the data it shipped with. Click Connect app with AI to switch it to your new backend. Nowa opens the AI Assistant, turns on the Supabase connector and sends a ready-made prompt for you, so this uses Nowa AI.
If a step fails, the dialog says Setup stopped and names the step. Click Fix with AI to open Nowa AI with a ready-made prompt, or Close to stop. After a fix, run Set up Backend again from ⋮.
In Nowa 3.13, a backend with two or more migrations can stop after the first one with duplicate key value violates unique constraint "schema_migrations_pkey". Nothing needs fixing: click Close, then ⋮ → Set up Backend again, and Nowa carries on with the migrations that are left. Repeat until Backend ready appears.
Let Nowa AI manage your backend
With the Supabase connector on, Nowa AI can look at your backend and change it: tables, SQL, row-level security policies (the rules for who can see or change which rows), triggers (actions that run when data changes) and database functions, edge functions and migrations. It works in Agent mode and asks for your approval before it acts, unless Auto-approve tools is on. Turn it on with the Supabase icon in the chat field. See Connect Figma and Supabase to Nowa AI.
Disconnect Supabase
- Click ⋮ in the Supabase panel, then Disconnect.
- Confirm with Yes. Nowa asks "Are you sure you want to disconnect from supabase?" and warns that it will remove all queries and storage functions from your project.
Nowa removes all your Supabase functions from the project, and your app no longer starts Supabase when it opens. Your Supabase project and its data, your data models, the saved URL and anon key in Constants and your saved supabase folder stay as they are.
Disconnecting removes every Supabase function in your project, including ones you edited or wrote. Screens and events that use them stop working. If you connect again, you start over with sign-in, sign-up and sign-out only.