In-app purchases with RevenueCat
RevenueCat takes care of the tricky parts of selling inside your app: subscriptions and one-time purchases on the App Store, Google Play and the web, renewals, and keeping track of who has paid. You set up what you sell in RevenueCat, add your keys in Nowa and place the ready-made RevenueCat Paywall on a screen. From then on, your app can sell without any purchase code from you.
Before you start
- A RevenueCat account with a project. You can create both at app.revenuecat.com.
- Your app's Bundle Identifier, set in Settings → Project Details. RevenueCat asks for it when you add your iOS and Android apps. See Check your app details.
- The store rules for selling inside an app: Follow Apple's rules and Follow Google Play's rules.
Set up what you sell in RevenueCat
RevenueCat organizes your sales around three ideas:
- Products are what people buy, such as "Monthly Premium".
- An entitlement is what buying unlocks, such as
premiumaccess. - An offering is the set of products your paywall shows.
Here's the short version of the setup in the RevenueCat dashboard. RevenueCat's guide to configuring products has every detail.
- Add your apps. Add an app config from Apps for each store you sell in, or a web config from Web to sell on the web (RevenueCat Billing, Stripe or Paddle). Each store asks for your Bundle Identifier (as the bundle ID or package name) and a few access keys from the store; Connect Apps & Web Providers shows where to find them. Each app gets its own public API key. Every project also comes with a Test Store, so you can try purchases before you connect a real store.
- Create your products. Go to Product catalog → Products. To start testing right away, pick the Test Store tab and click + New. For the real stores, create the products in App Store Connect or Google Play Console first, then import them here.
- Create an entitlement. Go to Product catalog → Entitlements, click + New and give it an identifier such as
premium. Open it and click Attach to link the products that unlock it. - Create an offering. Go to Product catalog → Offerings, click + New, give it an identifier such as
defaultand add packages. A package groups the same product across stores, such as one monthly plan for iOS and Android. Your app shows the offering that's marked as the default. - Design your paywall. On the Paywalls page, click Create paywall for your offering. Start from scratch, from a template or with RevenueCat's AI. When it looks right, click Publish Paywall so your app can show it.
- Copy your public keys. You find them under API keys in your project, or by opening an app under Apps. Use only the public keys. A secret key starts with
sk_and must never go into an app.
The real stores each need a little setup of their own before you can sell. Apple lets you test in-app purchases only after the Account Holder of your Apple developer account signs the latest Paid Applications Agreement and adds tax and banking details in App Store Connect. Google Play lets you create products only after you've uploaded a build of your app (see Publish to Google Play). RevenueCat's App Store and Google Play product guides walk you through both.
Turn on RevenueCat and add your keys
- Click the gear (Settings) in the top bar, or press Ctrl/Cmd + ,. Under Integrations, click RevenueCat.
- Turn on Enabled. Nowa sets up everything your app needs to talk to RevenueCat and starts it each time your app opens, so you can go straight to your keys.
- Under Configuration, paste the public key for each platform you ship. Press Enter or click the send icon (Submit) after each one. A check mark shows it's saved.
| Field | What to paste | The field's hint |
|---|---|---|
| Apple API Key | The public key of your App Store app in RevenueCat. | appl_ |
| Android API Key | The public key of your Google Play app. | goog_ |
| Web API Key | The public key of your web config (RevenueCat Billing, Stripe or Paddle). | strp_ |
Your app picks the key for the platform it's running on, so add one for every platform you test or ship. The same keys show on the Constants page in a RevenueCat section, and a change in one place updates the other. They're public keys, made to ship inside an app, so that's expected (see Keys and constants).
Once RevenueCat is on, your app needs iOS 14 or later on iPhone and iPad.
Add the paywall
A paywall is the screen that shows your offers and lets people buy. RevenueCat builds it from the design you published in its dashboard, so you can change its texts, layout and the plans it shows there later, without updating your app.
- Create a screen for it, such as Upgrade. RevenueCat recommends showing the paywall as part of a screen, not inside a bottom sheet or a popup.
- Press Ctrl/Cmd + K or click the Widget tool to open the Library, search for RevenueCat Paywall and press Enter.
- If Nowa shows Add Missing Dependencies, click Add. Nowa adds the add-ons the paywall still needs, then places it.
On the board, the paywall is a placeholder labeled "RevenueCat Paywall" with the text "Run to preview". Size and place it like any other widget.
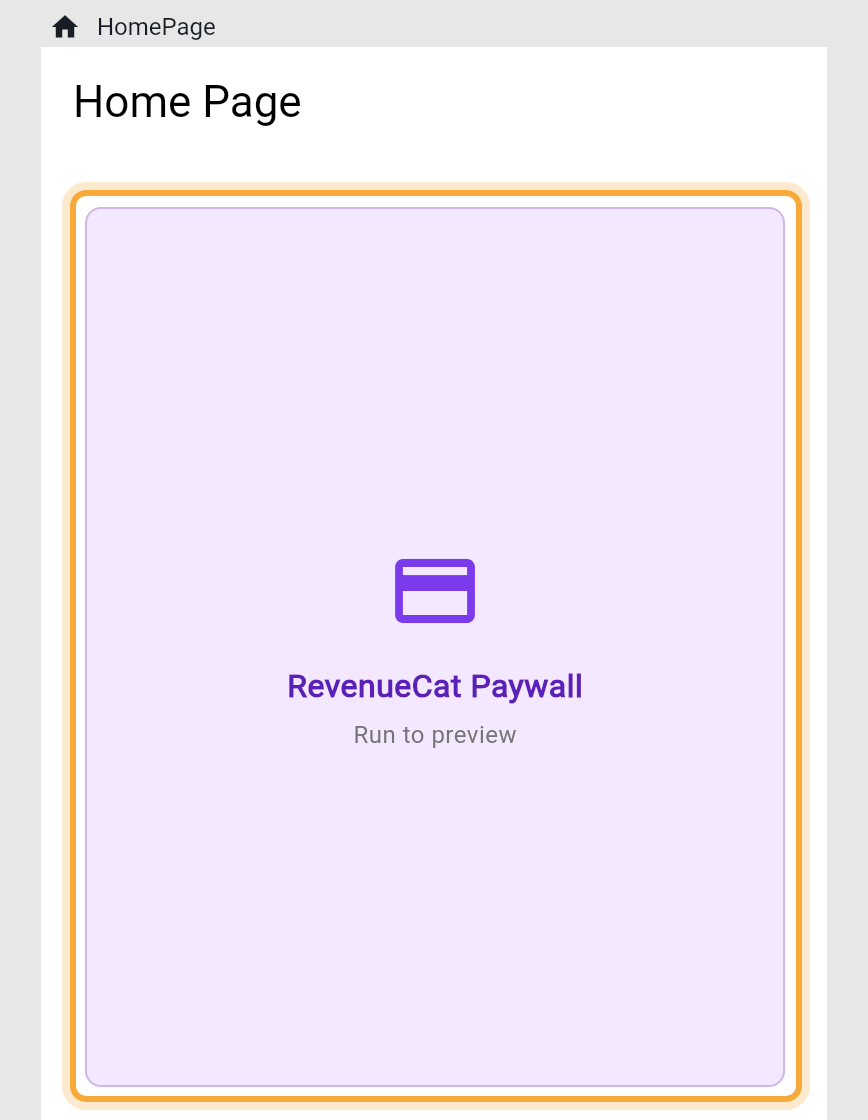
Out of the box, the widget shows the paywall you published for your default offering, lets people pick a package and buy it, and includes a Restore Purchases button, so someone who reinstalls your app or gets a new phone can get their purchases back.
When someone closes the paywall or finishes buying, your app decides what happens next, such as going back to the previous screen. Nowa adds the paywall without that step, so add it with Nowa AI (see the tip below).
RevenueCat's paywalls work on iPhone and iPad with iOS 15 or later and on Android 7.0 or later. RevenueCat doesn't support them in web apps yet, so test your paywall on iOS or Android.
In Agent mode, try: "When the RevenueCat paywall is closed or a purchase completes, go back to the previous screen." Then run your app on a device to check it.
Test purchases on a device
The board and Play only show placeholders. In Play, the paywall reads "Run on a simulator/emulator or mobile device to preview". To see the real paywall and try a purchase, run your app on an iOS simulator, an Android emulator or a phone. That needs the desktop app. See Run on a device or emulator.
You don't need to spend real money to test. Pick one of these:
- RevenueCat's Test Store simulates purchases, with no store setup at all. Copy your Test Store's API key from API keys in your RevenueCat project. If your project has no Test Store yet, RevenueCat's Test Store guide shows how to create one. Paste the key into Apple API Key and Android API Key while you test. When your app buys something, a dialog lets you choose a successful purchase, a failed one or a cancel, so you can check how your app reacts to each.
- The stores' sandboxes let test accounts from Apple and Google Play buy your real products without being charged. RevenueCat calls this the essential last check before launch. See its sandbox testing guide.
RevenueCat makes any release build that uses a Test Store key stop on purpose, so it can't reach the stores. That includes TestFlight and Google Play testing tracks. Paste your real public keys back in before you deploy.
Use purchases in your logic
Open the paywall from a button
This is all most apps need. The paywall takes care of choosing, buying and restoring.
- Select your button, for example Go Premium. In Details, click the button next to On Pressed. Circuit opens.
- Add a step that opens your paywall screen. See Go to another screen.
- Run your app on a device and tap the button to check that the paywall appears.
Unlock features for people who paid
RevenueCat keeps track of who has paid through your entitlement, such as premium. Nowa's setup doesn't include a ready-made step that checks it, so let Nowa AI build this part. In Agent mode, try:
"When the app opens, check whether the user has the RevenueCat entitlement premium, keep the answer in a global state, and show the Upgrade button only to users who don't have it."
Once Nowa AI is done, open Problems to make sure nothing is flagged, then test on a device, for example with the Test Store. See Find and fix problems and Share data across your app.
Build your own buy buttons
Prefer to design your own offer screen instead of the paywall? Nowa's setup includes two RevenueCat steps for that, grouped under RevenuecatService. In Circuit, hover the dot under the top node, click + and search for RevenuecatService. Click it to see its steps:
fetchOfferingsloads the offerings you set up in RevenueCat.purchasePackagebuys one package from an offering.
The third one, configureRevenuecat, is the start-up step Nowa already runs each time your app opens, so you don't need it.
Both steps work with RevenueCat's own data, such as the package someone picked, so the easiest way to connect them is to ask Nowa AI, for example: "On the Upgrade screen, list the packages of my default RevenueCat offering, buy the one the user taps, and add a Restore purchases button." With your own screen, keep that restore button: Apple's guideline 3.1.1 asks for "a restore mechanism for any restorable in-app purchases".
Before you publish
- Swap any Test Store key for your real public keys.
- Check that every platform you ship has its key.
- Connect your real App Store and Google Play apps in RevenueCat and import their products.
- App Store purchases, in the sandbox and live, need Apple's In-App Purchase capability, as RevenueCat's iOS guide explains. Apple turns it on by default for the App ID you register (see Register your bundle ID). RevenueCat also has you add it to your app in Xcode, Apple's app for building iPhone apps, under Signing & Capabilities. If you don't use Xcode, ask Nowa AI in Agent mode: "Add the In-App Purchase capability to my iOS app, the way Xcode's Signing & Capabilities does." Then check with a sandbox purchase on an iPhone.
- Go through RevenueCat's launch checklist and the store rules for Apple and Google Play.
Turn RevenueCat off
- First remove your RevenueCat Paywall widgets and any Circuit steps that use
RevenuecatService, so nothing in your app still points at RevenueCat. - Turn Enabled off. Nowa takes RevenueCat out of your app.
Your keys stay on the Constants page, now under Custom Constants, until you remove them there. Working in the code? See What Nowa adds to your code.