Image
The Image widget is a fundamental component to display graphical representations, including illustrations, icons, and photographs. With Nowa, adding images has never been easier. You can source images from either your project's assets or directly from URLs.
How to add images ��🖼️
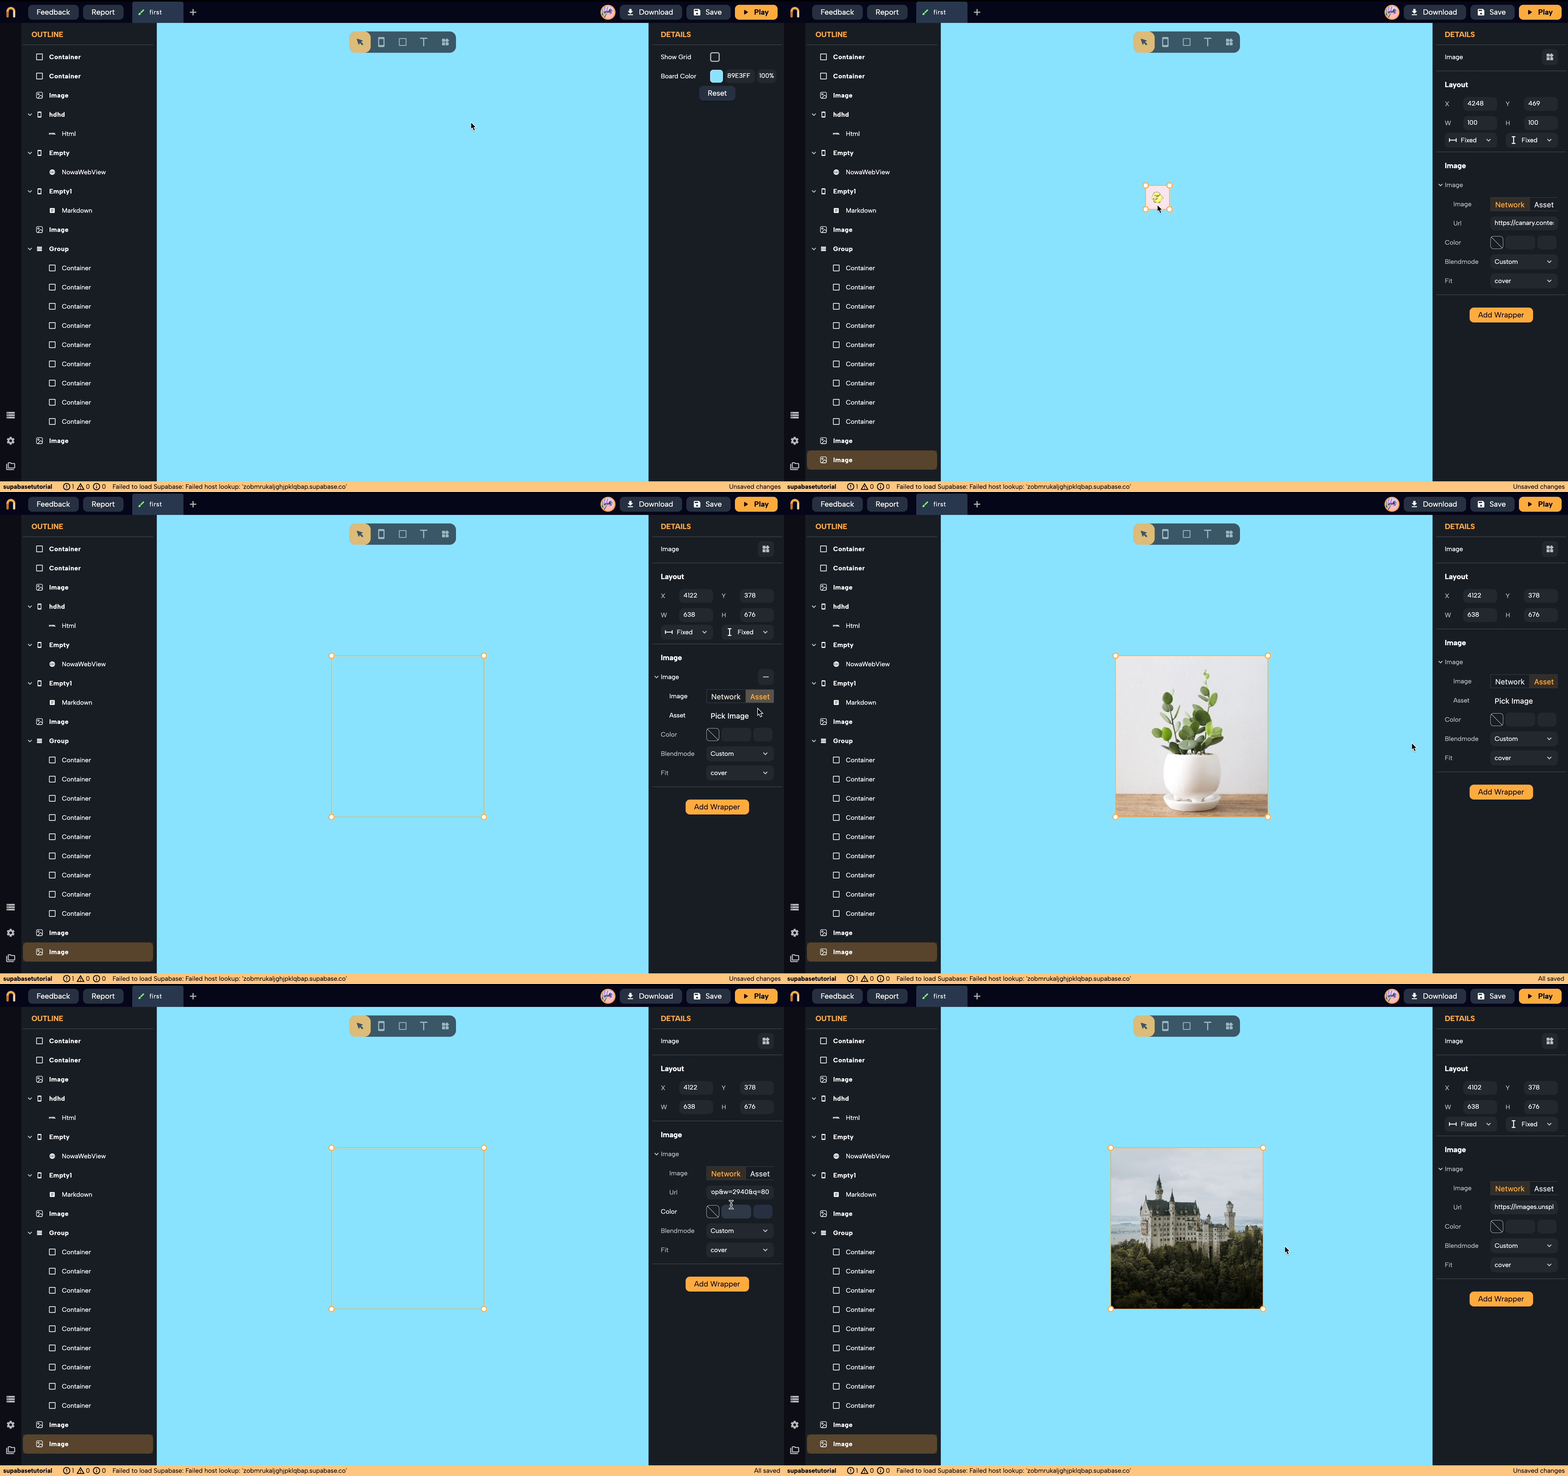
To add the image widget, follow this steps:
- Open the
Widget Pickerand selectImage. - From the details panel, add and image by pasting the link of it in the
Urlfield. - You can also add images from assets: to do it select
Assets. - Still from the details panel, select
Pick Image. - From the pop-up that open, select the image from your assets that you want to display.

To add other images in your assets, click on the Upload image button, or drag and drop them in from your local files directly in Nowa.
Other Properties
Here's a breakdown of some key properties you can adjust for the Image widget:
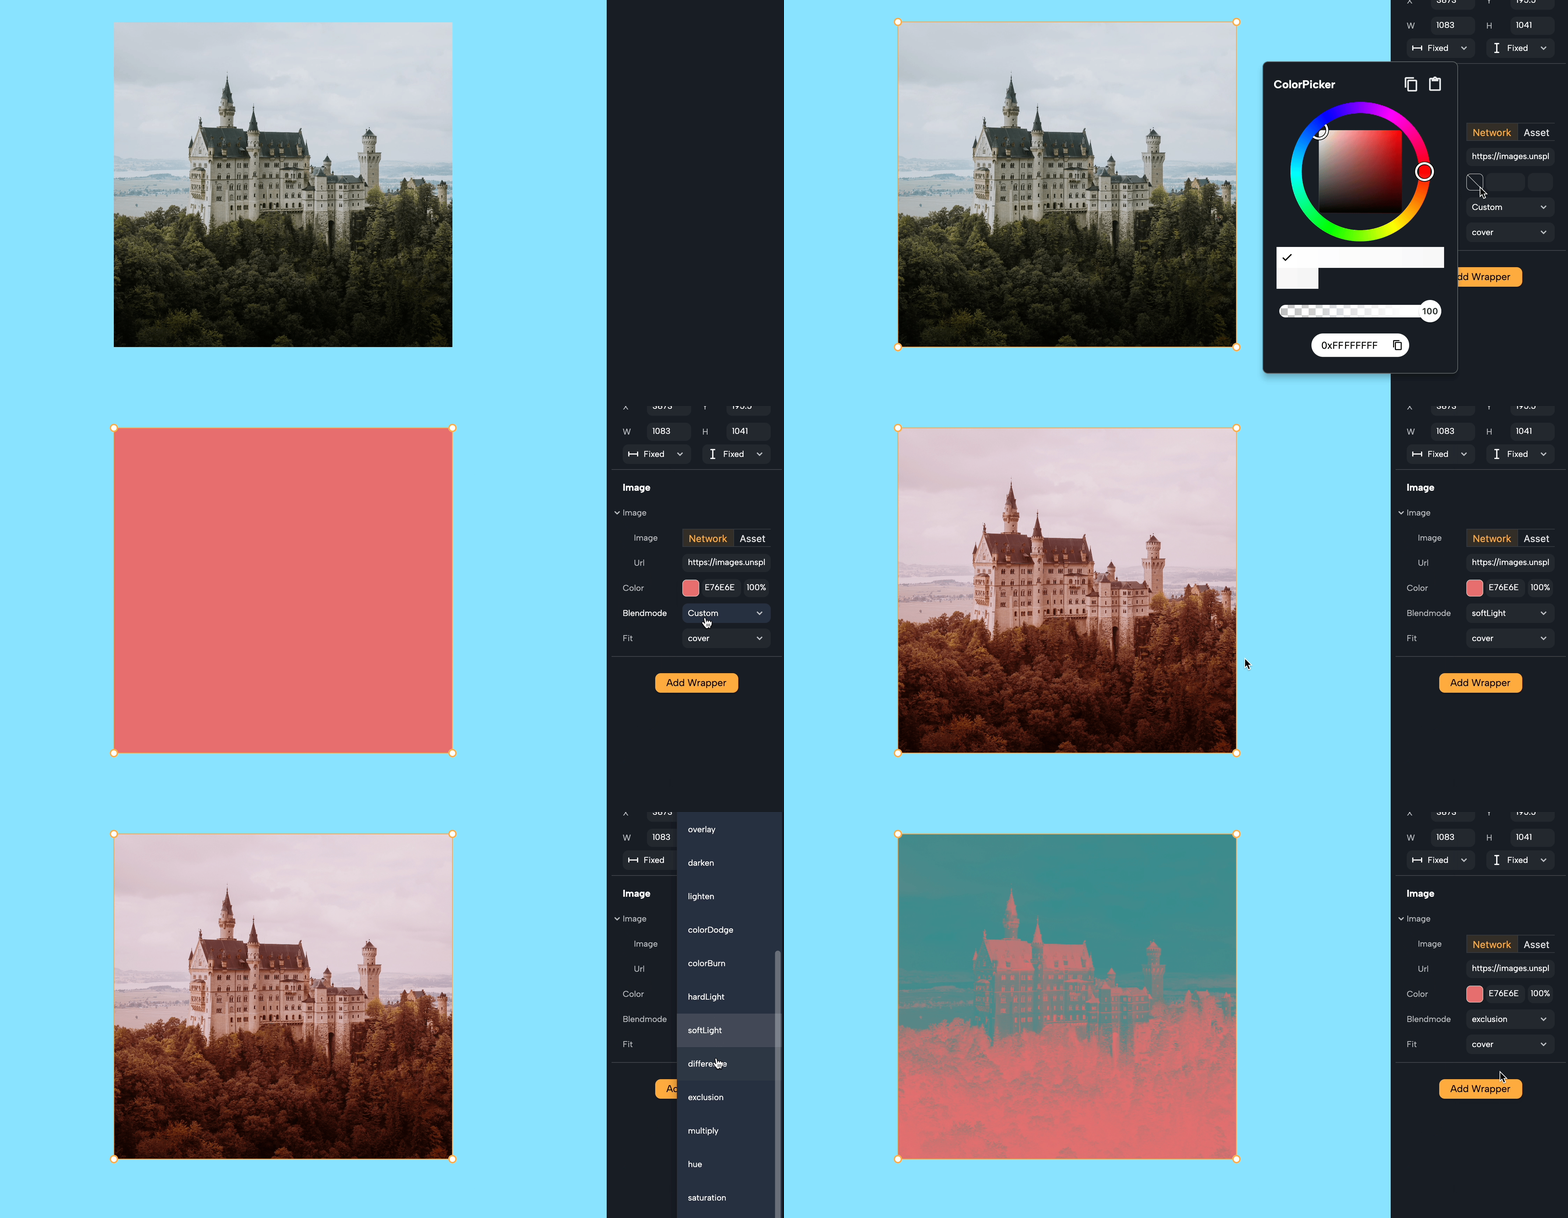
Color: The Color property modifies the color of the Image. When applied, this color will blend with the original colors of the image.
- Choose a color from the color picker in our tool.
- Apply it to your selected image.
- The chosen color will overlay on your image.
Blendmode: The BlendMode property determines how the color should blend with the image. It provides various blending options, such as darken, lighten, multiply, and more, each giving a unique visual effect when combined with a color.
- After applying a color, select a blend mode from the dropdown list.
- The image's appearance will change based on the blend mode selected.
Fit: The Fit property, determines how the image should fit within its box. The options include:
- Fill: The image will fill the container, changing the aspect ratio of the image. This means the image might be stretched either vertically or horizontally, depending on the size of the container.
- Contain: The image will scale itself to fit inside the container while maintaining its original aspect ratio. This means the entire image will be visible within the container, but there might be some empty space in the container either at the sides or at the top and bottom.
- Cover: The image will scale itself to cover the entire container while maintaining its original aspect ratio. This means the image might overflow the container either vertically or horizontally. Parts of the image might not be visible.
- FitWidth: The width of the image will scale to match the width of the container, but the height of the image might not match the height of the container. The aspect ratio of the image is preserved.
- FitHeight: The height of the image will scale to match the height of the container, but the width of the image might not match the width of the container. The aspect ratio of the image is preserved.
- None: The image won't be resized at all. It'll be rendered in its original size. If the container is smaller than the image, parts of the image will overflow the container.
- ScaleDown: This option will make the image scale down to fit inside the container while maintaining its original aspect ratio, but only if the image is larger than the container. If the image is smaller than the container, it remains its original size.
