Assets
Assets are essential for bringing your app to life — from custom fonts and icons to images, videos, and sounds.
In this page, you'll learn how assets work in Nowa and how to manage them efficiently.
Where to Find Your Assets
All your project assets are located in the Files panel, found in the side panel of the Nowa editor.
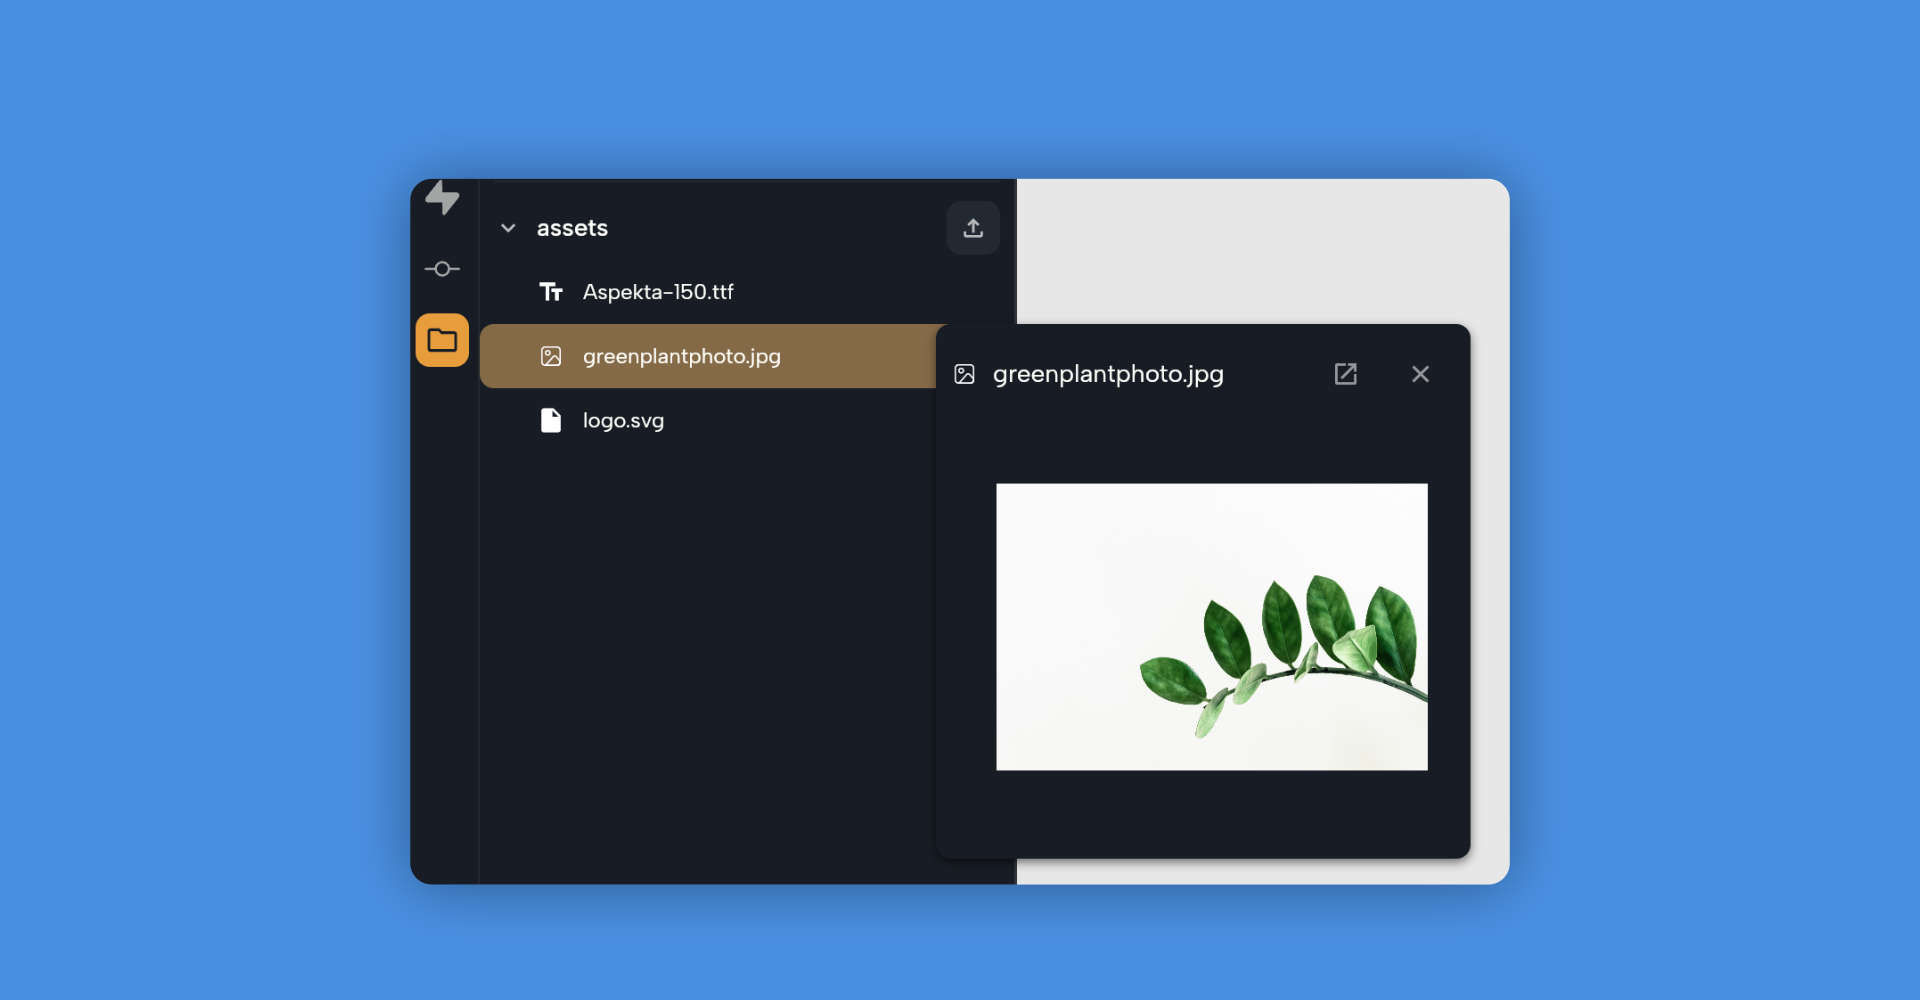
The last section in this panel is called the Assets section, where you can view and manage all files such as images, SVGs, fonts, and audio.
Importing Assets into Your Project
You can import new assets into your project in three simple ways:
- Upload Button — From the Assets panel, click the Upload button to browse and select files from your computer.
- Drag and Drop — Drag files directly from your desktop or file explorer into the design board.
They’ll automatically be imported into your project. - Widget Details Panel — Some widgets (like the Image widget) let you upload files directly from their Source property inside the Details panel.
Removing and Renaming Files
Removing an asset from the canvas doesn’t delete it from the project.
To permanently remove a file (screen, component, or asset such as an image or font):
- Right-click the file in the Assets panel
- Choose Remove
To rename a file:
- Right-click the file in the Assets panel
- Select Rename
Keep your asset names simple and clear (for example, app_logo.png or main_font.ttf).
It makes managing large projects much easier.