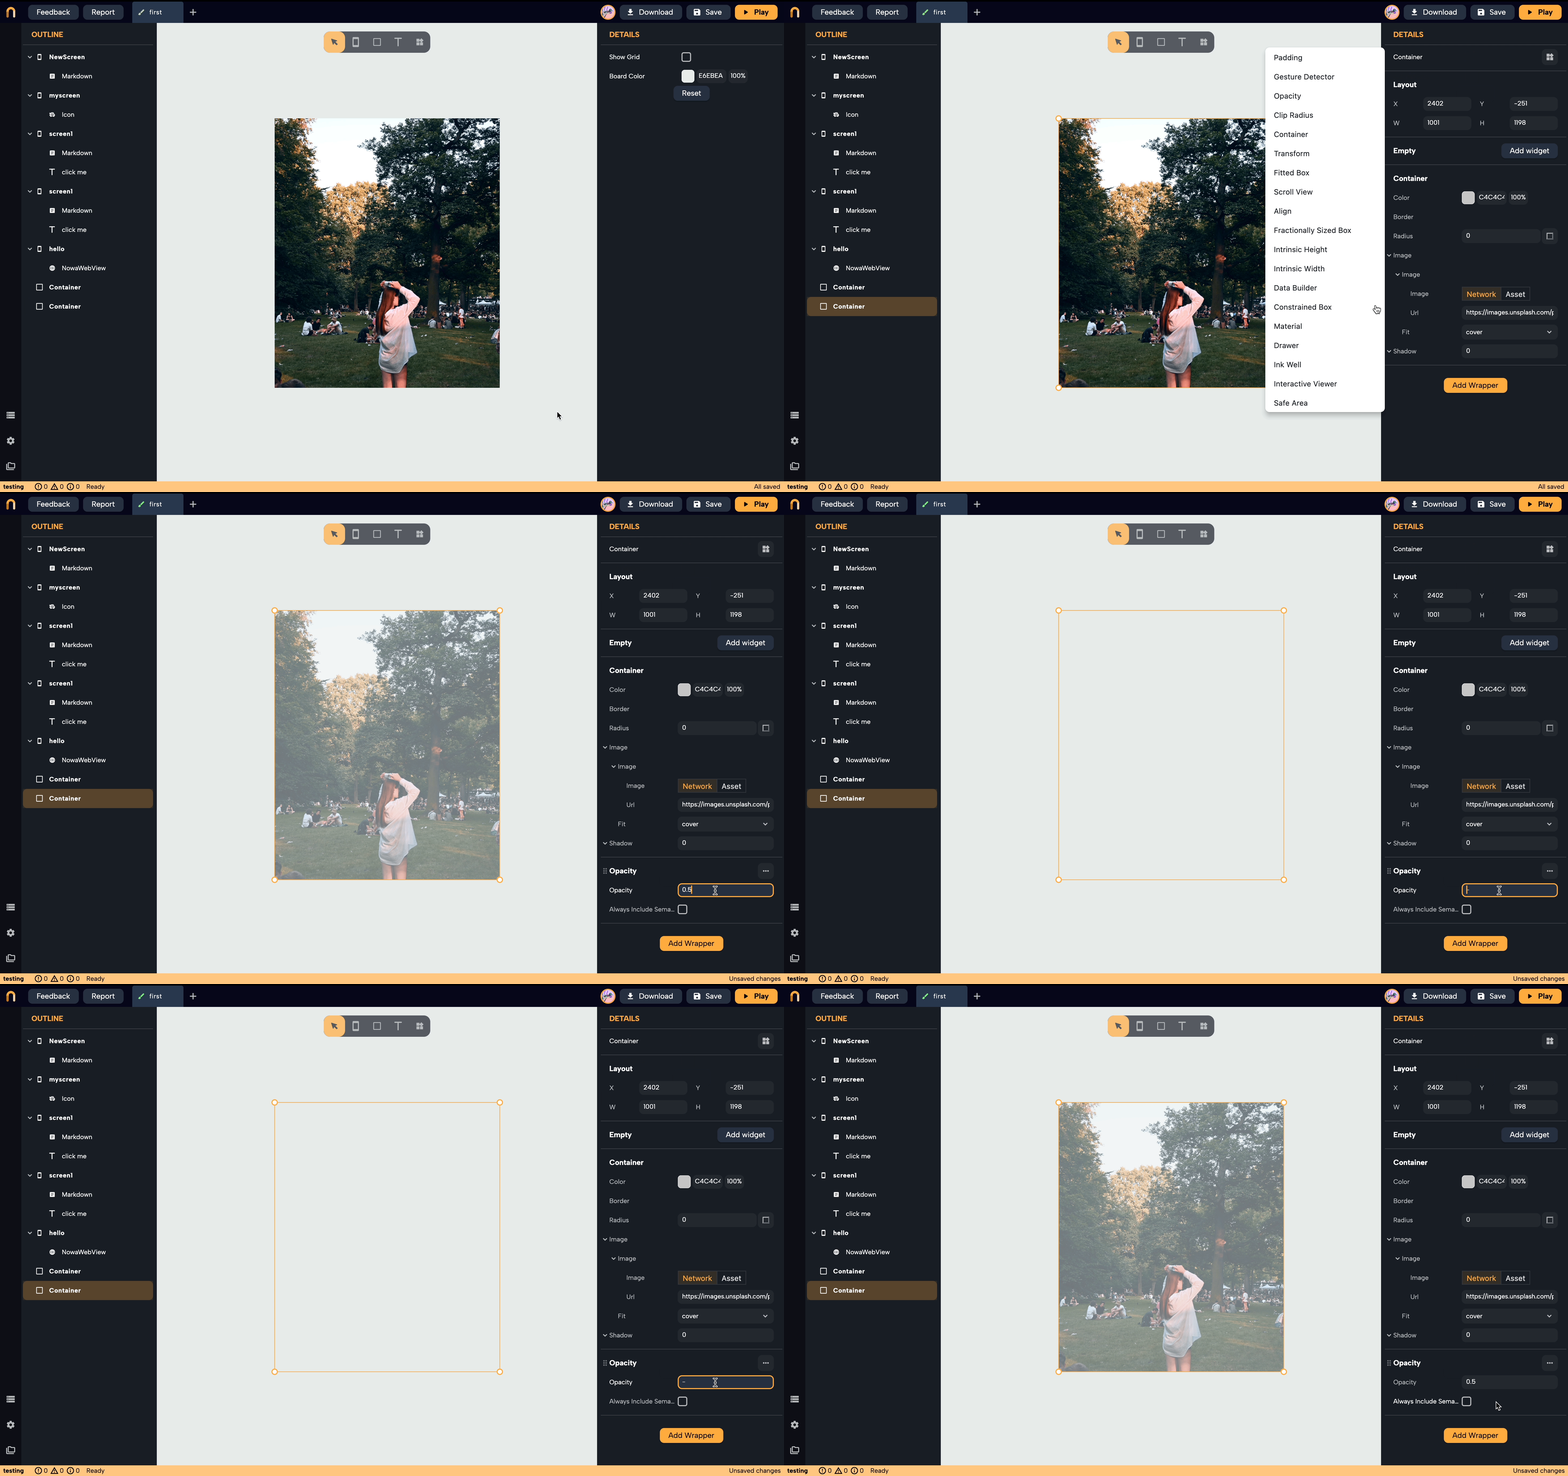
Opacity
The Opacity Wrapper is essential for creating a transparency effect. By adjusting opacity levels, you can create UI elements that blend seamlessly into the background or bring focus to more pronounced components.
What does the Opacity Wrapper do?
The Opacity Wrapper modifies the transparency of a widget, allowing you to create a fade-in or fade-out effect. By changing the opacity of a widget, you can make it completely transparent, completely opaque, or anything in between.
How to add Opacity
- Select the widget you want to modify the Opacity of.
- Click on
Add Wrapperbutton in the details panel. - Select
Opacity. - In the details panel enter a value between 0 and 1 (like 0.3, 0.5, etc...).
- When the value is set to "0" it means the widget will be completely transparent.
- When the value is set to "1" it means the widget will be visible without any transparency.

Other properties:
The Always Include Semantics property is a boolean that determines whether the semantics of the child widget should always be included, regardless of the opacity value.
Why is it important?
- Accessibility: Screen readers and other assistive technologies rely on semantics to describe and interact with UI elements. If an element is not completely opaque (for instance, it's semi-transparent or fully transparent), its semantics might be excluded by default. This would mean that a screen reader might not "see" the widget even though it's present, albeit faintly, on the screen.
- Intentional Design: There could be scenarios where a widget is made transparent for visual users (like indicating a disabled state), but you still want a screen reader to recognize and possibly interact with it.
Always Include Semanticsallows you to force the inclusion of semantics even if the widget is transparent.