Signup and Setup
This guide will walk you through creating your account, setting up your workspace, and starting your first project.
Signup
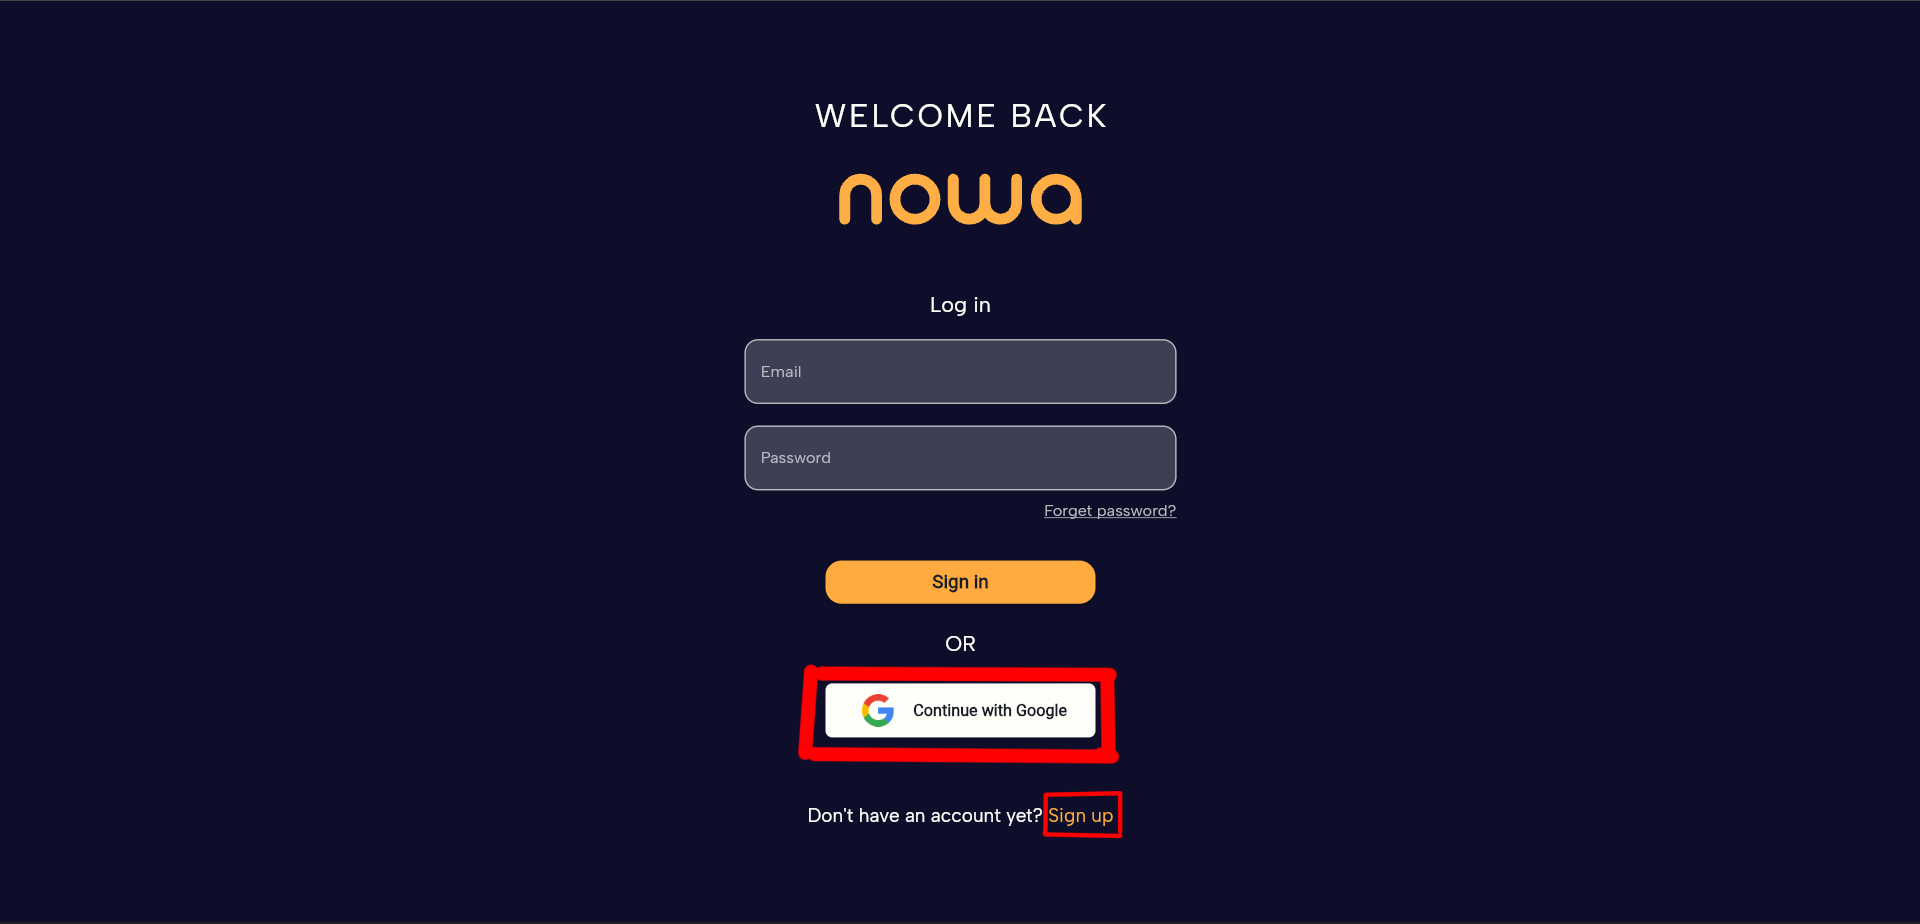
When you open Nowa for the first time, you’ll be asked to sign up. You can do this in two ways:
- Email and Password – Create an account by entering your email address and password.
- Google Sign-In – Quickly create an account using your Google account.
No matter which option you choose, you’ll get full access to Nowa.
Email Sign-Up
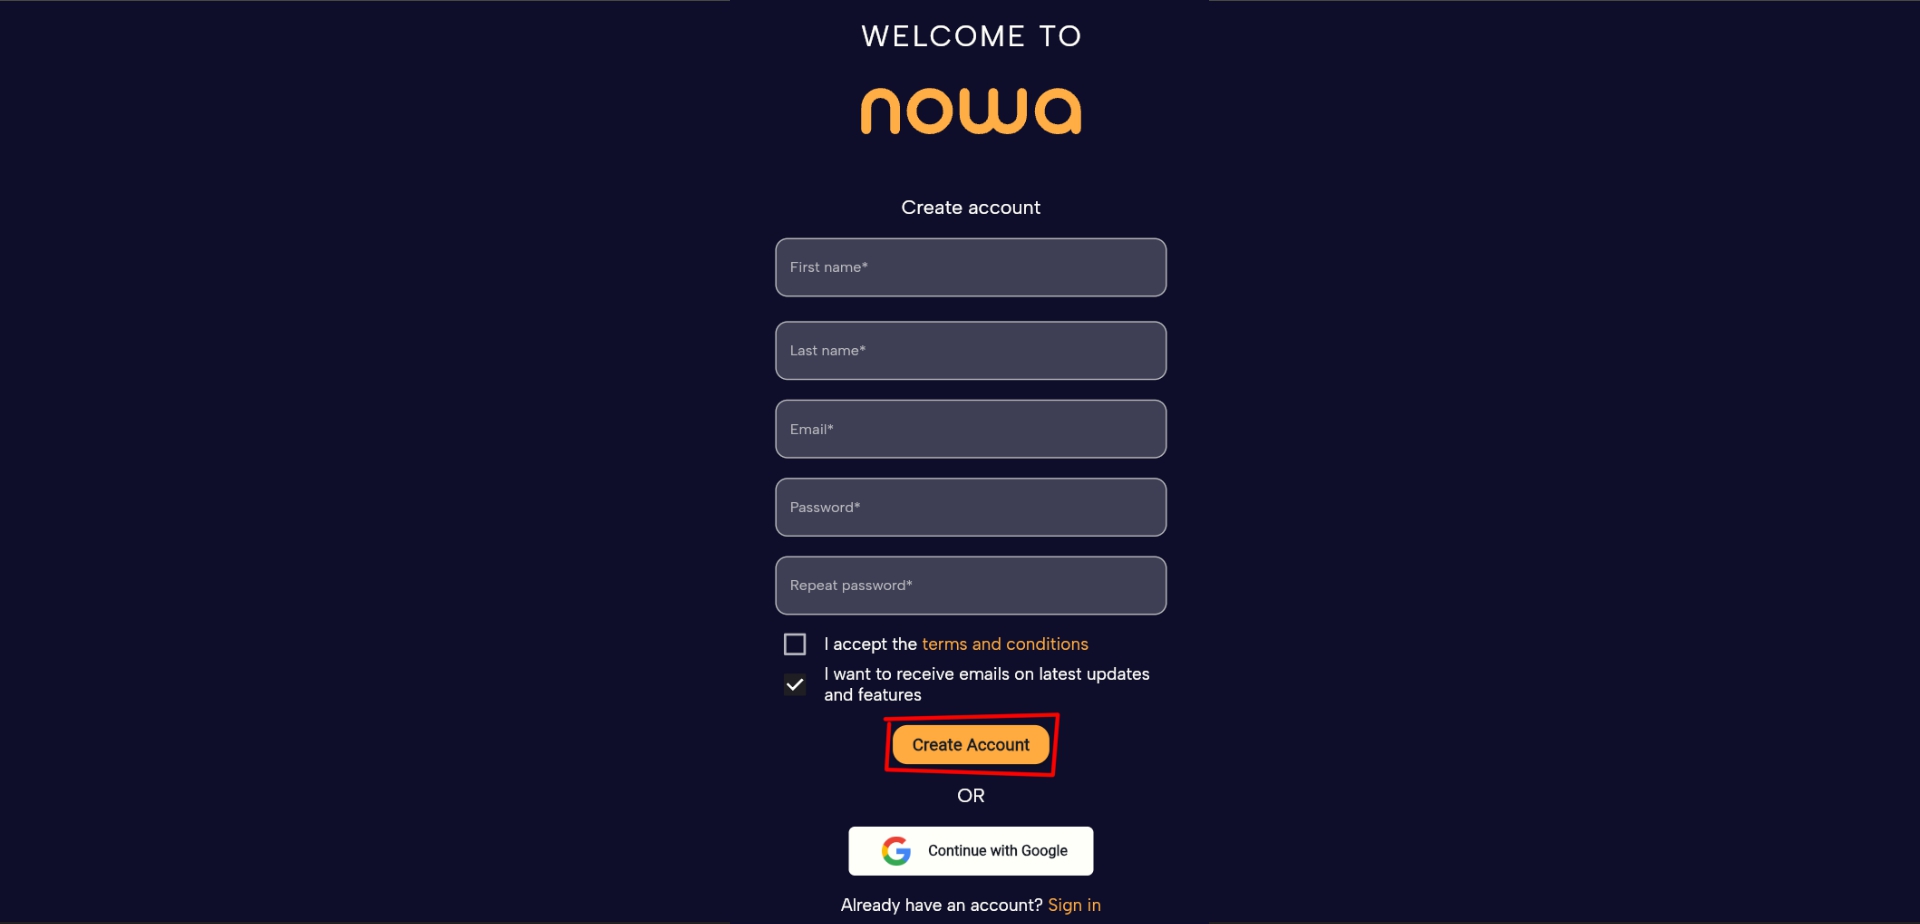
If you prefer the email option, here’s what to do:
- Enter your full name, email address, and password.
- Accept the Terms & Conditions.
- Click Create Account.
We’ll then send you a verification email. This step keeps your account secure and confirms your email address.
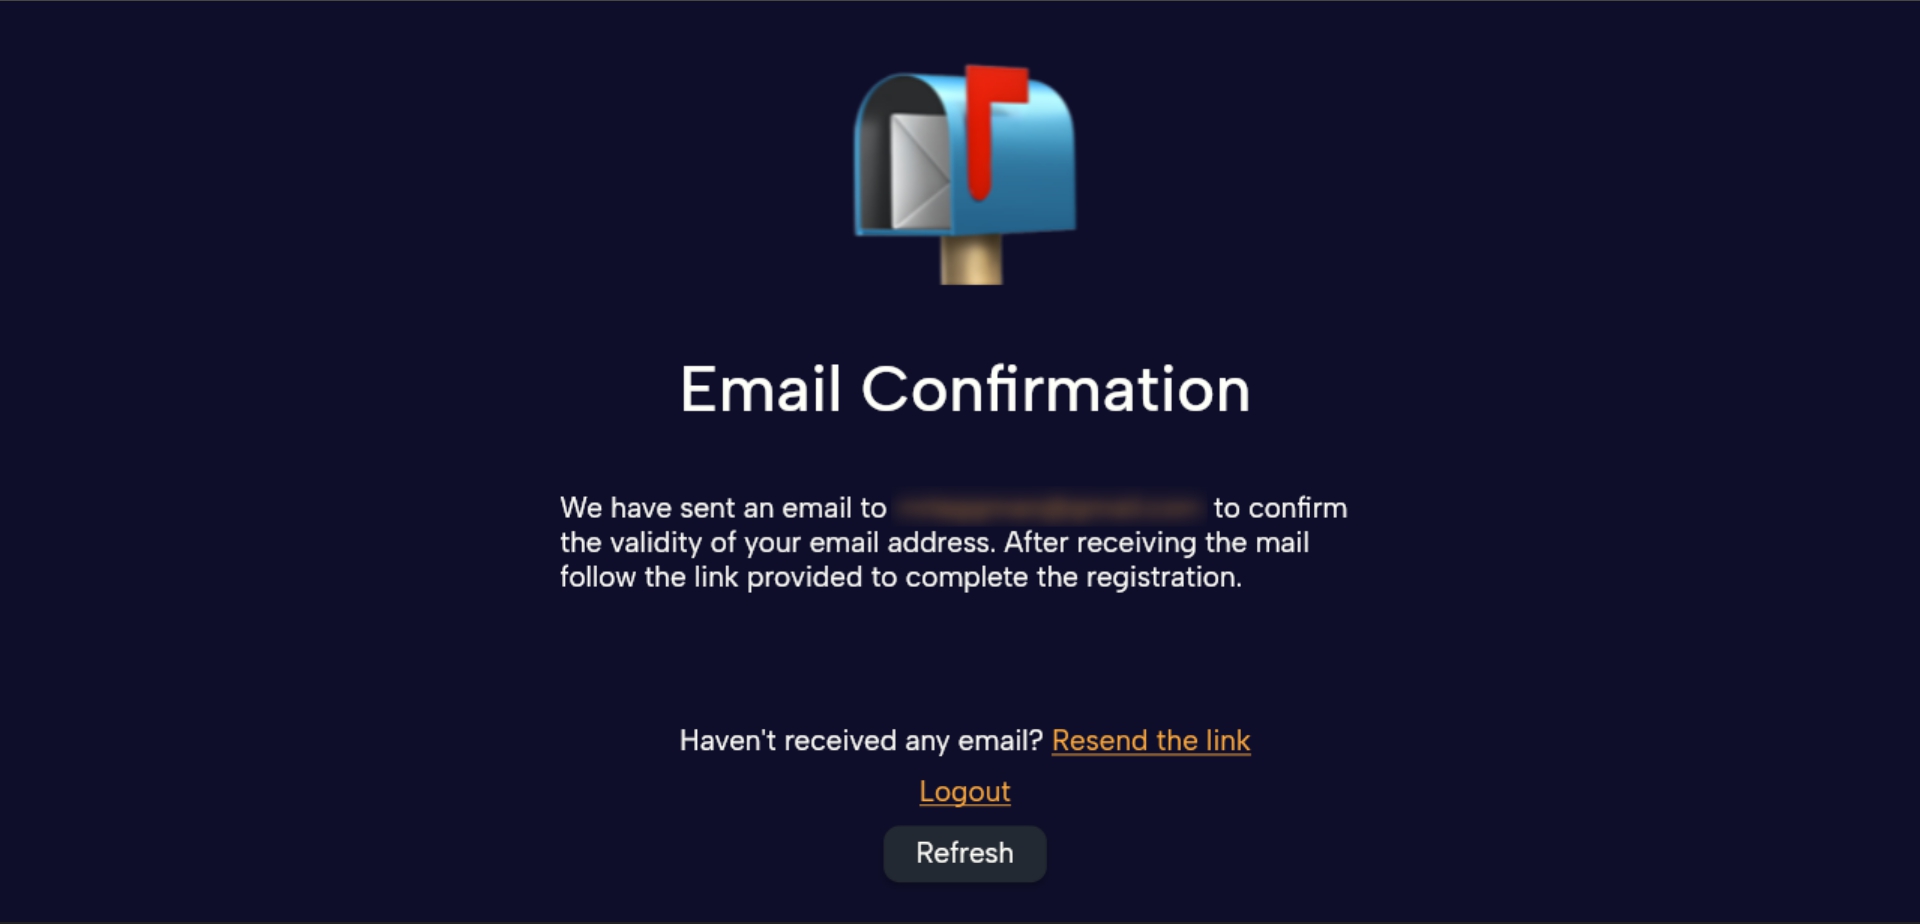
Open the email and click the link inside.
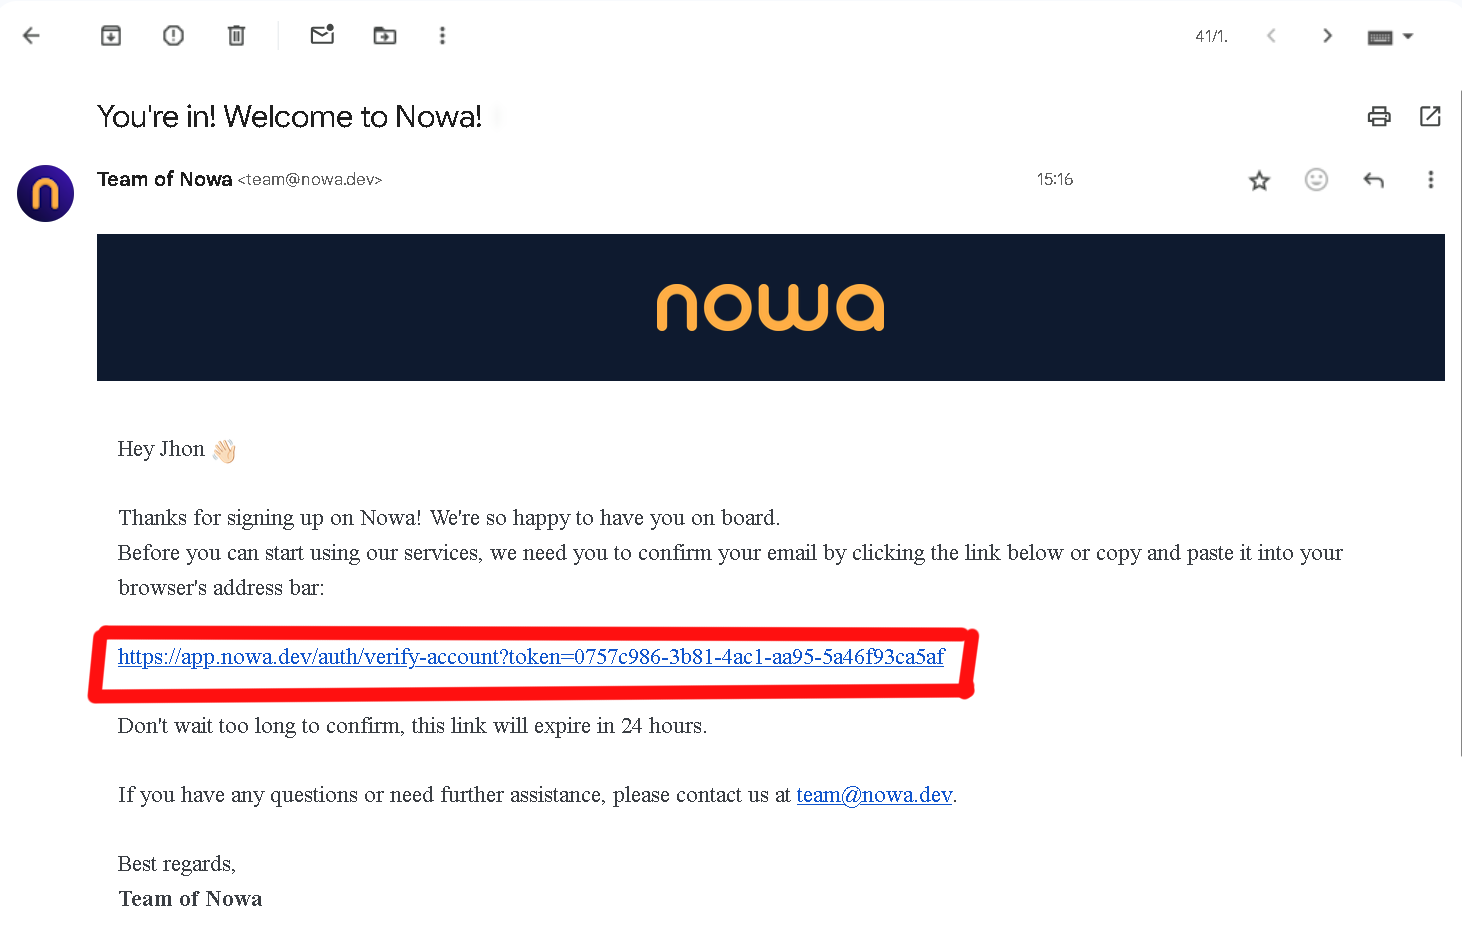
Once you’ve confirmed, you’re all set—your signup is complete!
Google Sign-Up
Want to get started even quicker? You can sign in with Google.
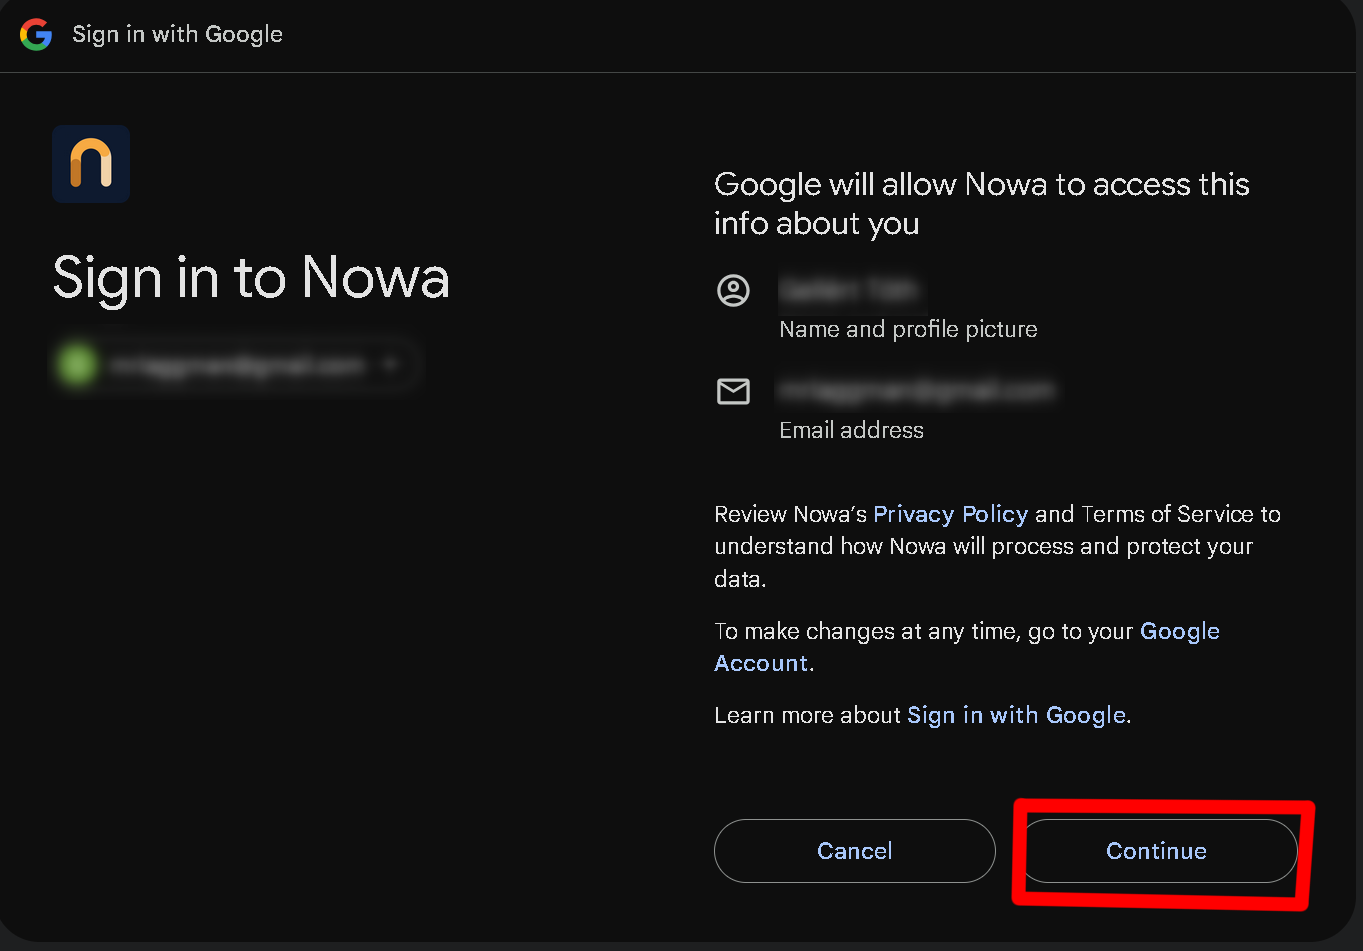
- Click the Continue with Google button.
- Pick your account and give permission.
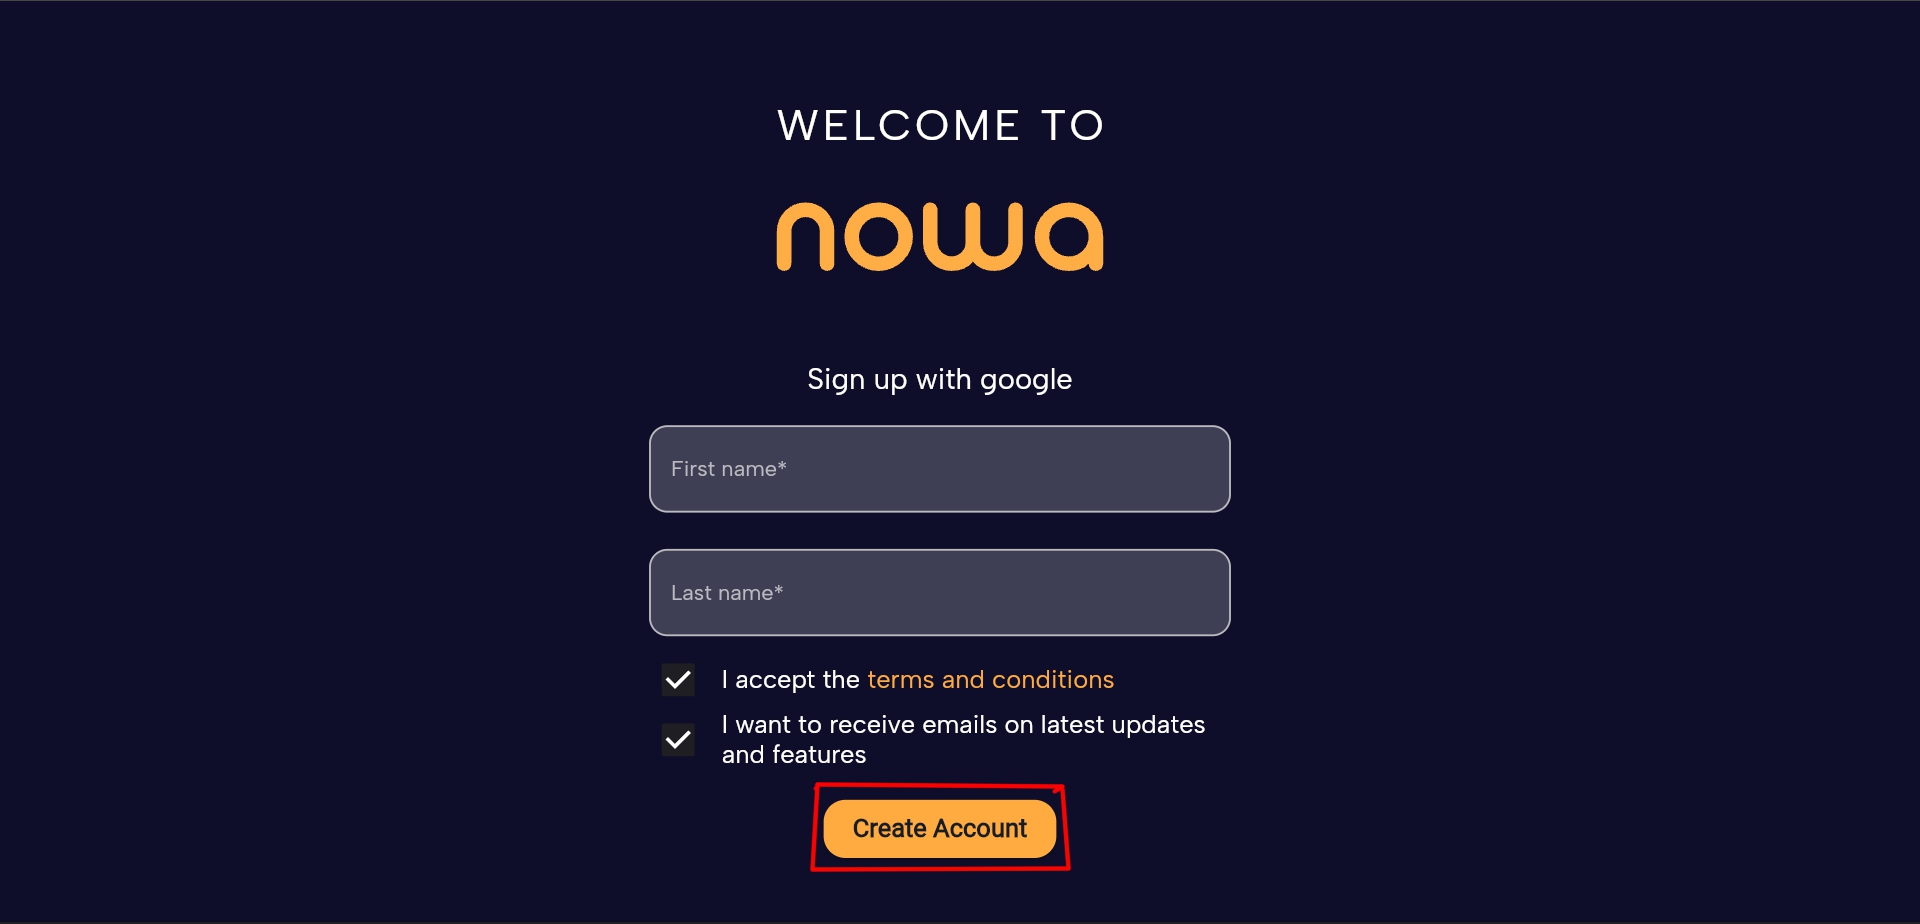
- Enter your first and last name.
- Accept the Terms & Conditions.
- Click the Create Account button.
That’s it—your account is created in just a few clicks.
After Signup
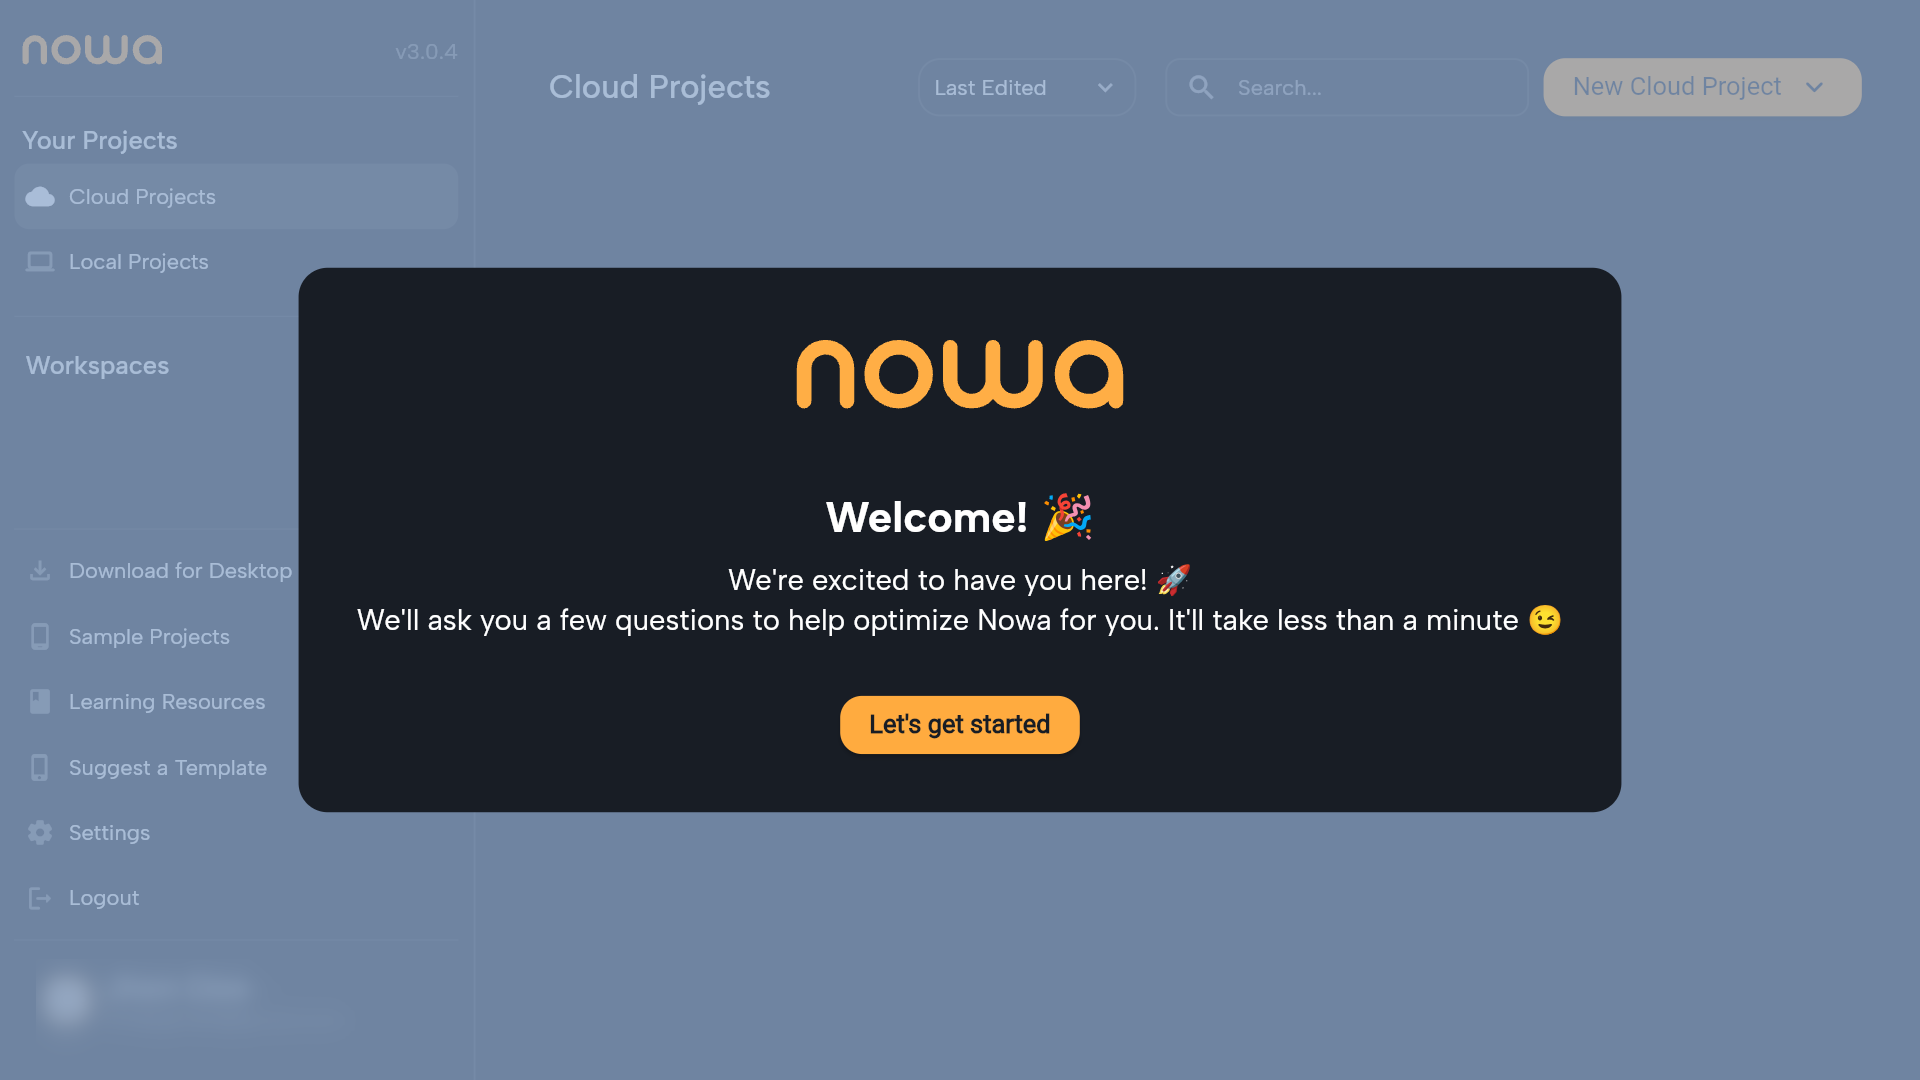
Once you’re signed up, you’ll land on the Welcome Screen.
Click "Let’s Get Started" to move forward.
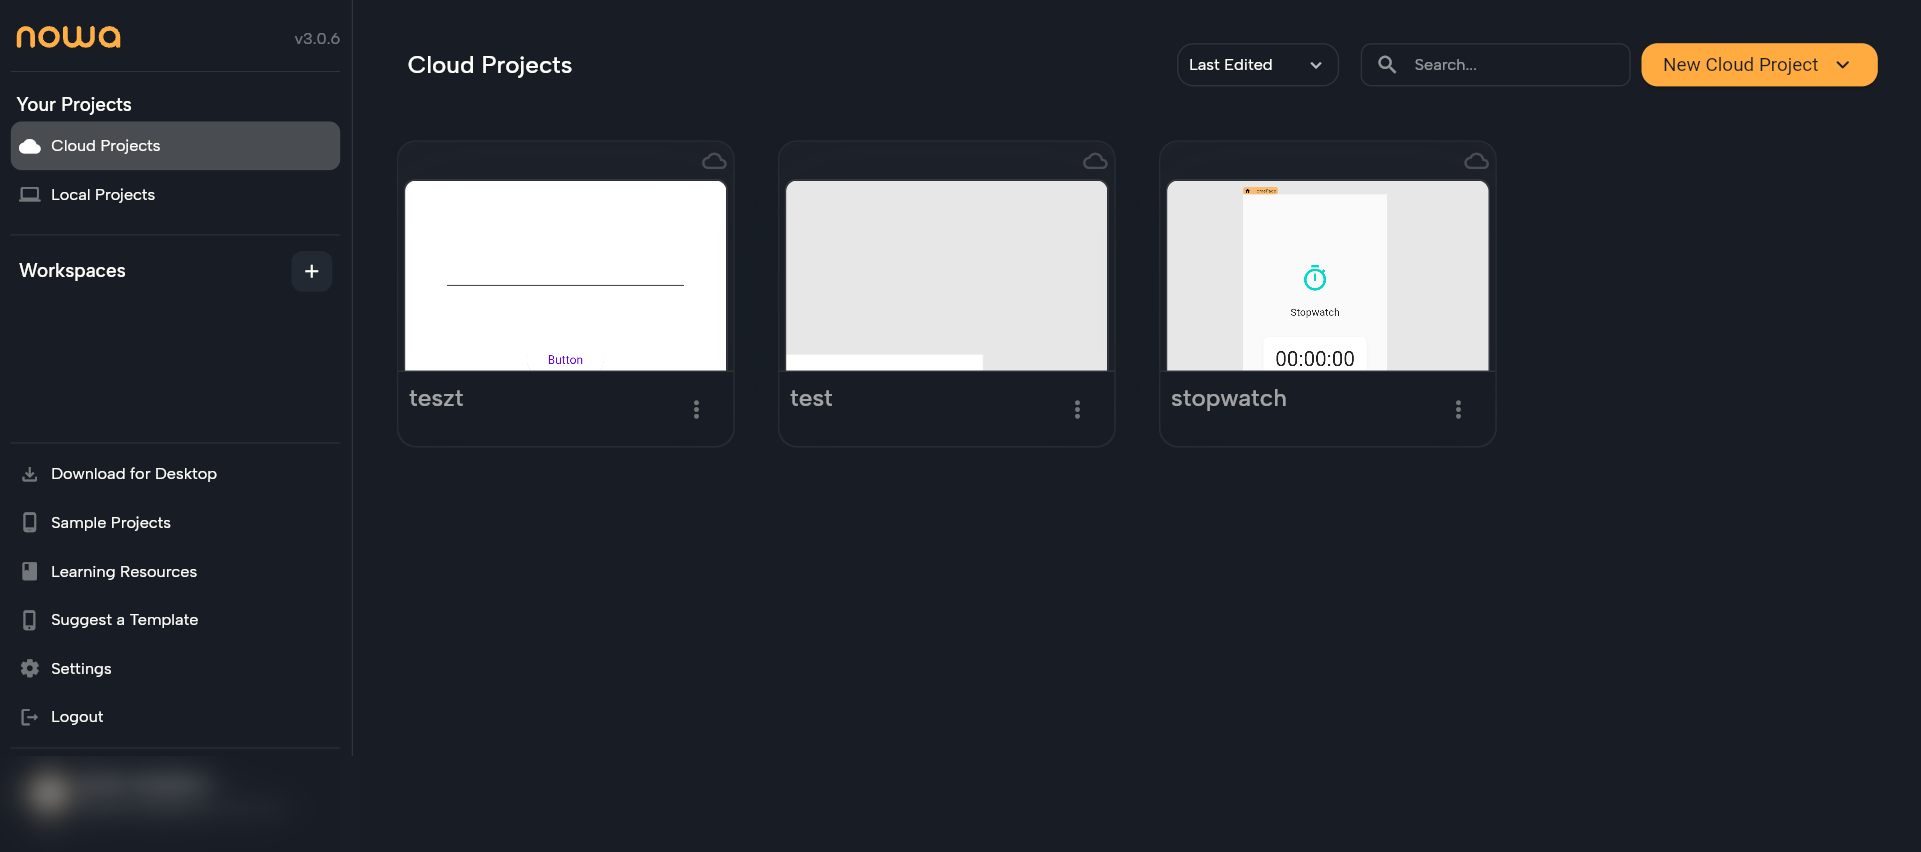
Dashboard
Here you can create new projects, reopen existing ones, and organize your work.
On the left side, you’ll find shortcuts to:
- Workspaces
- Templates
- Learning resources
- Account settings
In the center, your projects appear for quick access.
And in the top-right, you’ll find the search bar and a new project button to help you move fast.
Creating a Workspace
Workspaces provide a structured way to keep projects organized.
To create a workspace, click the “+” button, enter a name, and then click Create.
Projects: Local or Cloud?
When you start a new project, you can choose between local or cloud project.
Not sure which one to pick? Here’s a quick overview.
Cloud Development
Cloud projects are stored online.
This means you can:
- Access them anywhere.
- Share them with your team easily.
- Move faster when collaboration is important.
How to create a Cloud Project:
- Click the yellow New Cloud Project button.
- Select New Cloud Project from the list.
- Enter a project name.
- Click Create.
Local Development
Local projects are stored only on your computer.
This option is great if you want to:
- Work offline.
- Keep your data private.
- Test things in a safe, controlled way.
For a detailed guide, see Creating Local Projects.