API Collection & API GET Call
Welcome, this guide shows you how to set up an API Collection in Nowa, send request, and display real data in your app.
We created an API collection feature to help you organize your APIs into groups of requests that share the same base URL and headers.
1. Create the API Collection
In this step, you will learn to create an API collection.
If you define at the collection level, it will automatically apply to all requests within the collection, so you don’t need to repeat it for each API request.
When you name your collection, Nowa shows you two things:
- Class name: The Dart class name that Nowa generates. Think of it as the “handle” you’ll use when working with this collection inside Circuit.
- Path: The file path where the collection will be stored in your project.
You can create a new collection by clicking the “+” icon, choosing New Collection from the list, and then confirming with Submit.
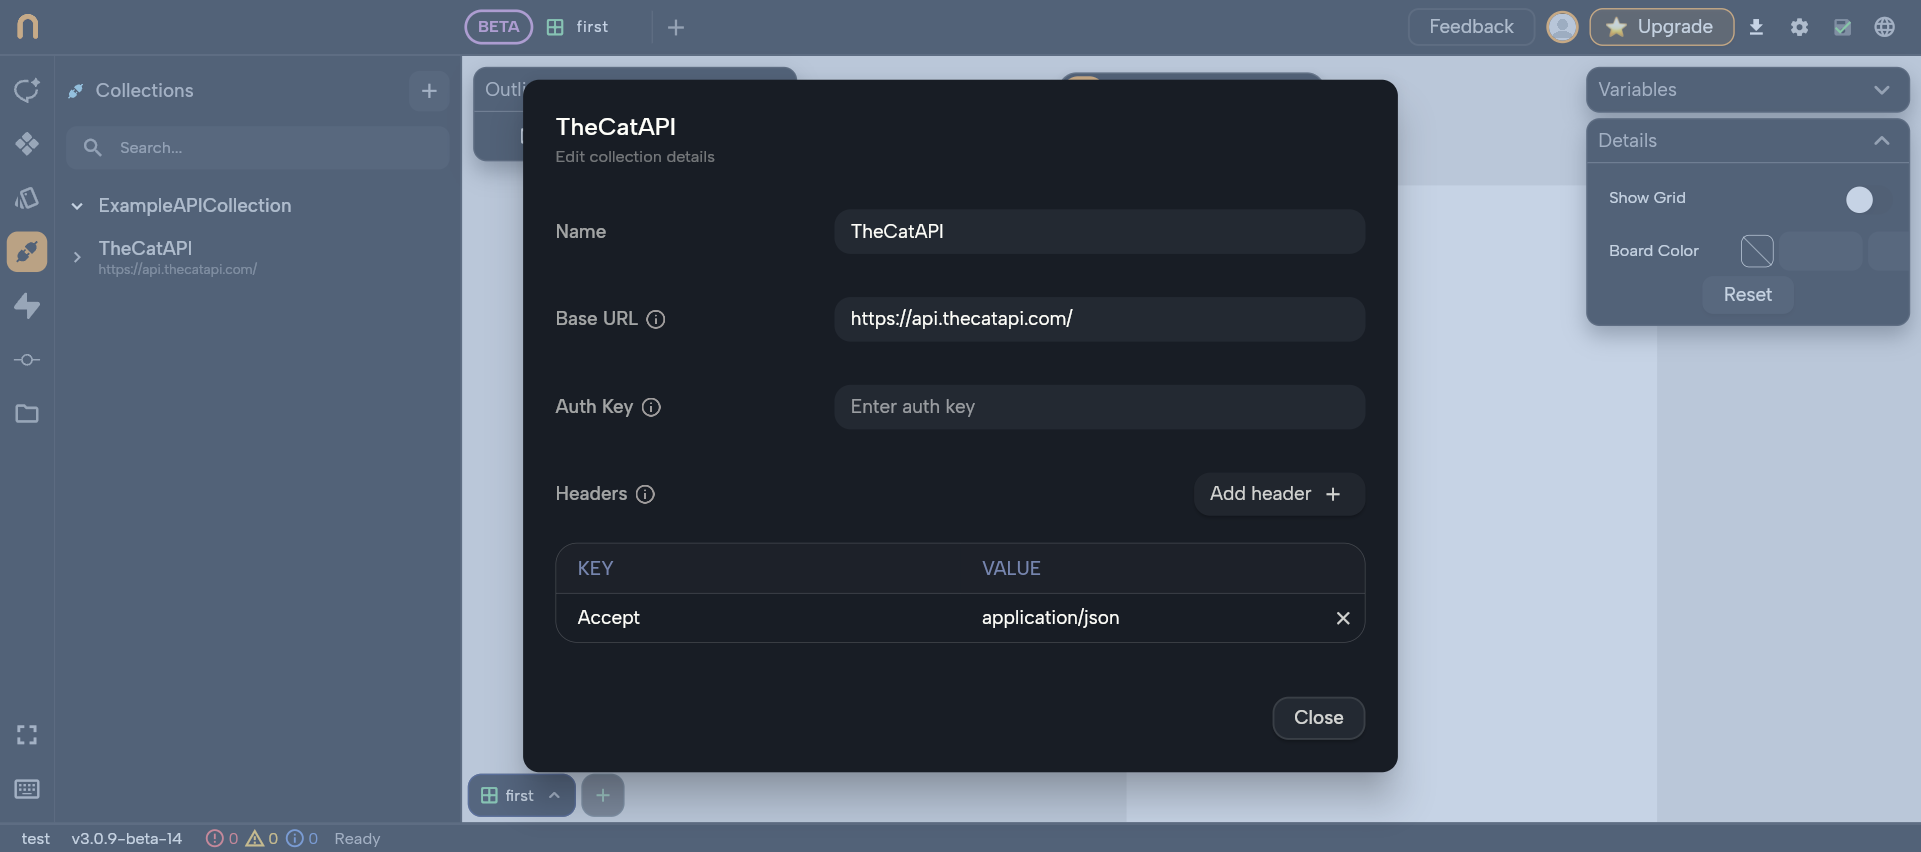
2️. Set the Base URL
If you add a Base URL for your API requests, you avoid typing mistakes by reusing the same URL across the collection.
https://api.thecatapi.com/
You click on the Settings icon, and then simply type your Base URL.
3. Configure the Headers
Header is information included with an API request that tells the server about the client and how the request should be processed.
Headers are used for things like authentication, content type, response format, caching.
In this example, we show you how asking the API for JSON returns.
The data in a structured format that’s easy to read and use in your app.
Accept: application/json
Click Add Header, then type Accept as the Key and application/json as the Value.
4. Creating the API Call
You can create a new API call inside your collection. This is how you’ll fetch data.
You don’t need the entire URL—just the specific endpoint. The base URL is already set in the collection.
Here’s how:
- Click the Plus icon.
- Select New request.
- Give it a name.
- Click on Create.
- Set the URL.
- Click on Test – This step is required before moving to the next step.
5. Testing and Generating the Data Model
You can test the API and create a data model from its output for use in your app.
A structured model makes it much easier to work with the data, since it converts the raw JSON response into a usable format. Here’s how you can generate one in Nowa:
How can you do it:
- Click Run Test.
- Then click Generate Model. You will see the server’s JSON output.
3: Click Next. You can modify what you want from the JSON. - Finally, click Save. At this step, you can also change the generated model’s name or choose where to save it
6. Binding the Data Model to the UI
If you want to inject data into your UI, you need to wrap your widget in a Data Builder so you can access the data, and then you can bind your data model directly to your UI element, like your image.
Here’s how:
- Close the API Request window.
- Click on the Widgets icon.
- Add an Image Widget.
- In the widget properties, wrap it with the Data Builder.
- In the Data Builder source, select API Request.
- From the list, choose CatPhoto API.
- In the Image URL widget property:
7.1 Open the Locals menu.
7.2 Select Data (this refers to the Data Builder API response).
7.3 Choose Get Data.
7.4 Then select URL.
7. Trying Out
In this step, you can try it out.
- Click on Play button.
- Click on Refresh button to see a new image each time.