Build Countdown App under 5 minutes
In this quick-start guide, we'll build a simple app together in under 5 minutes. The app will be a countdown timer where the user enters a value in seconds, presses start, and sees the countdown begin. A progress bar will visually display the countdown.
What You'll Learn
- Creating a UI with a Text, Progress Bar, Button, and TextField
- Defining and updating variables dynamically
- Using Circuit to implement countdown logic with a Timer object
Follow along step by step, and try to replicate the process in your own project!
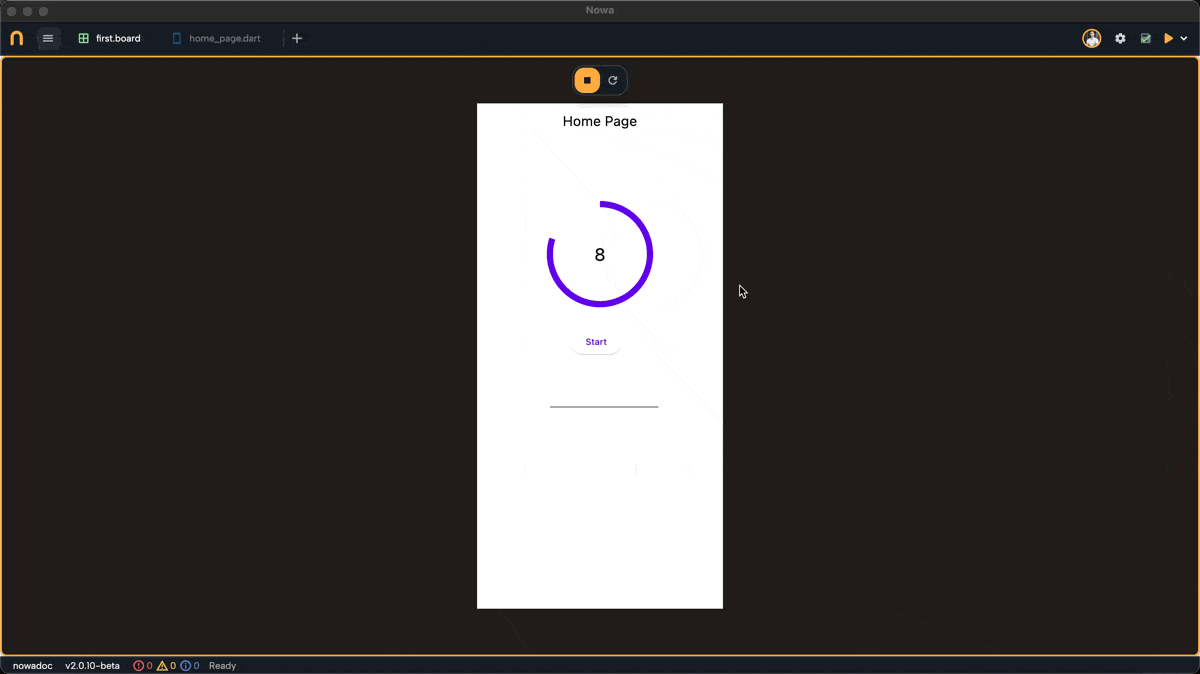
Step 1: Create the UI
First, let's build the app's UI, we wont' do any styling or anything, we will just drop the widgets needed for this app.
The steps as follows:
- Add a TextField – This is where users will enter the countdown value.
- Add a Text widget – It will display the current countdown value.
- Add a Progress Bar – This will visually represent the countdown progress.
- Add a Button labeled "Start" – This will start the countdown when clicked.
Step 2: Make the Countdown Functional
Now, let's bring our app to life by making the Start button work.
Here's the full steps of doing so. More explanation on the steps below:
Define Variables
We need two integer variables:
originalTimer– Stores the initial countdown value.currentTimer– Starts atoriginalTimerand decreases by 1 every second.
Connect Variables to UI
- Set the Text widget to display
currentTimer, so it updates in real-time. - Set the Progress Bar's value to
currentTimer / originalTimer, ensuring it starts full (1) and decreases over time.
Implement Countdown Logic
- Select the Start button and open its On Pressed event.
- Use the Timer object to call a function every 1 second.
- Inside the function:
- Decrease
currentTimerby 1. - Call Refresh to update the UI (Text and Progress Bar).
- Decrease
Now, when you click Start, the timer will begin counting down, and the progress bar will decrease accordingly.
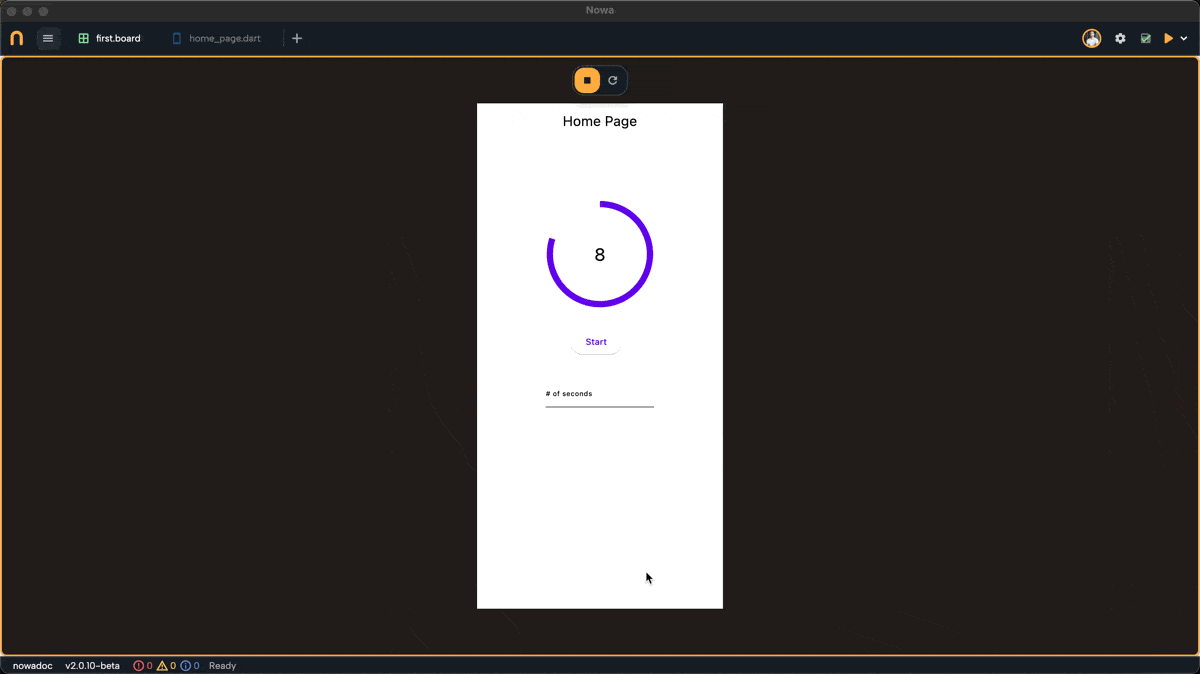
Step 3: Allow Users to Set a Custom Timer
We want users to enter a new countdown value instead of using the default one.
Use a TextField Controller
- The TextField widget has something called
Controller. This is used to access it's properties during the logic building, and do things like clearing the text up. - When you drop a TextField widget, you will find next to the controller property
text, which is the controller name created by default - We will access that
textcontroller to retrieve the value entered by the user.
Set the New Timer Value
- Open the On Editing Complete event for the TextField. This event will be called when user finish entering a value inside the TextField, like when the user click enter after typing inside the TextField
- Add a Parse() node to convert the entered text (String) into an integer. (the text property of the TextField is always with the type String even if the user types a number, so we need Parse node to parse it into an integer)
- Store the result in a new variable (
newValue): The result from Parse can be stored in a new variable on the spot. We will use that new variable in the next step when setting a new value for the variables we created earlier - Set both
currentTimerandoriginalTimertonewValue. This will make the variables hold the most recent value that the user typed in the TextField
Now, when the user enters a new value and presses Enter, the countdown will reset to that value. When they press Start, it will count down from the new number.
Congratulations!
You’ve successfully built your first app in Nowa! You now understand: ✅ How to create a UI ✅ How to use variables ✅ How to implement logic using Circuit
You're now ready to explore more complex apps. Check out the next guide to continue your journey!