Build for Android
In this guide you will learn:
- How to build your app for Android devices
- How to sign your app with a new signing key, or by using your existing one
- The difference between APK and AAB app formats
After building your app with Nowa, you can deploy it to Android devices and publish it to the Google Play Store. The process is straightforward and can be done in a few steps.
1. Open the Mobile Deployment Settings
With your project open in Nowa, follow these steps to access the mobile deployment settings:
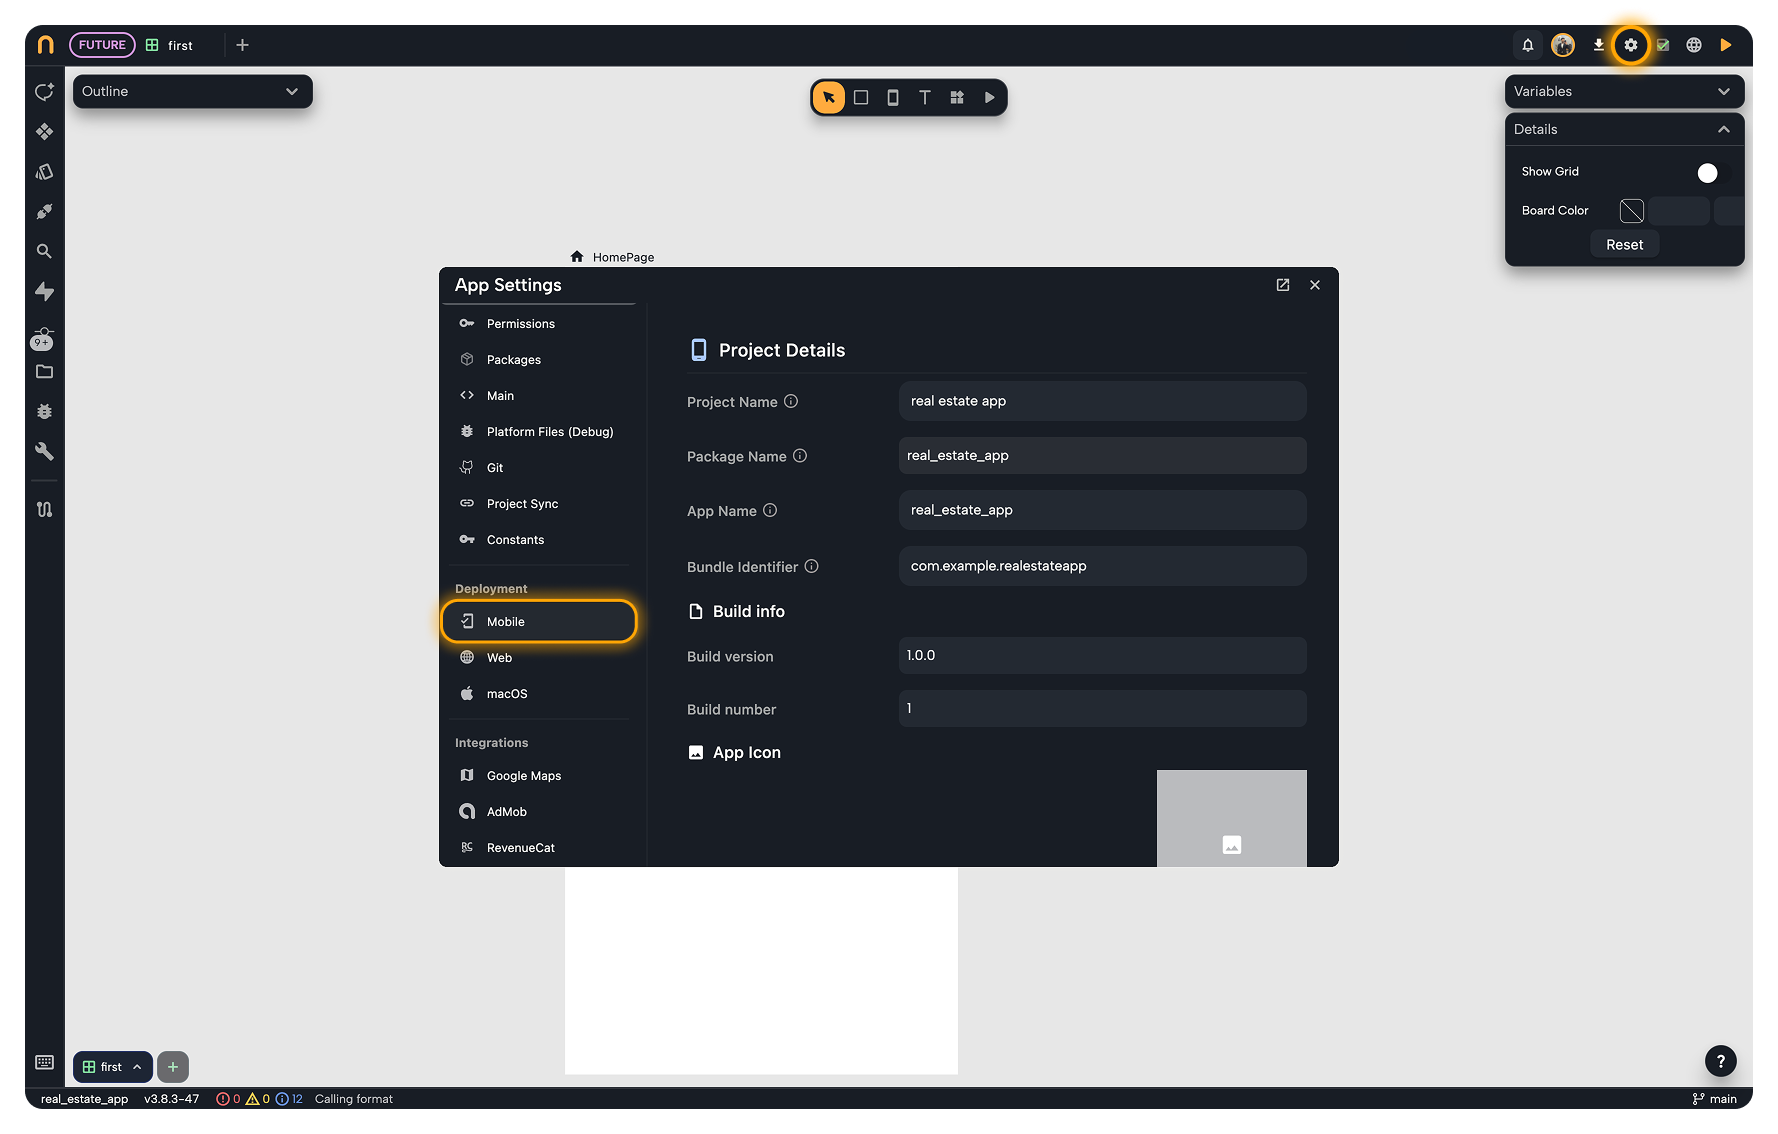
- Click on the Settings icon (
⚙︎) in the top right corner of the screen. This will open the App Settings menu. - In the left sidebar of the App Settings menu, slightly scroll down and click on the Mobile tab under Deployment.
- Under the Android section, choose between Release or Debug build types.
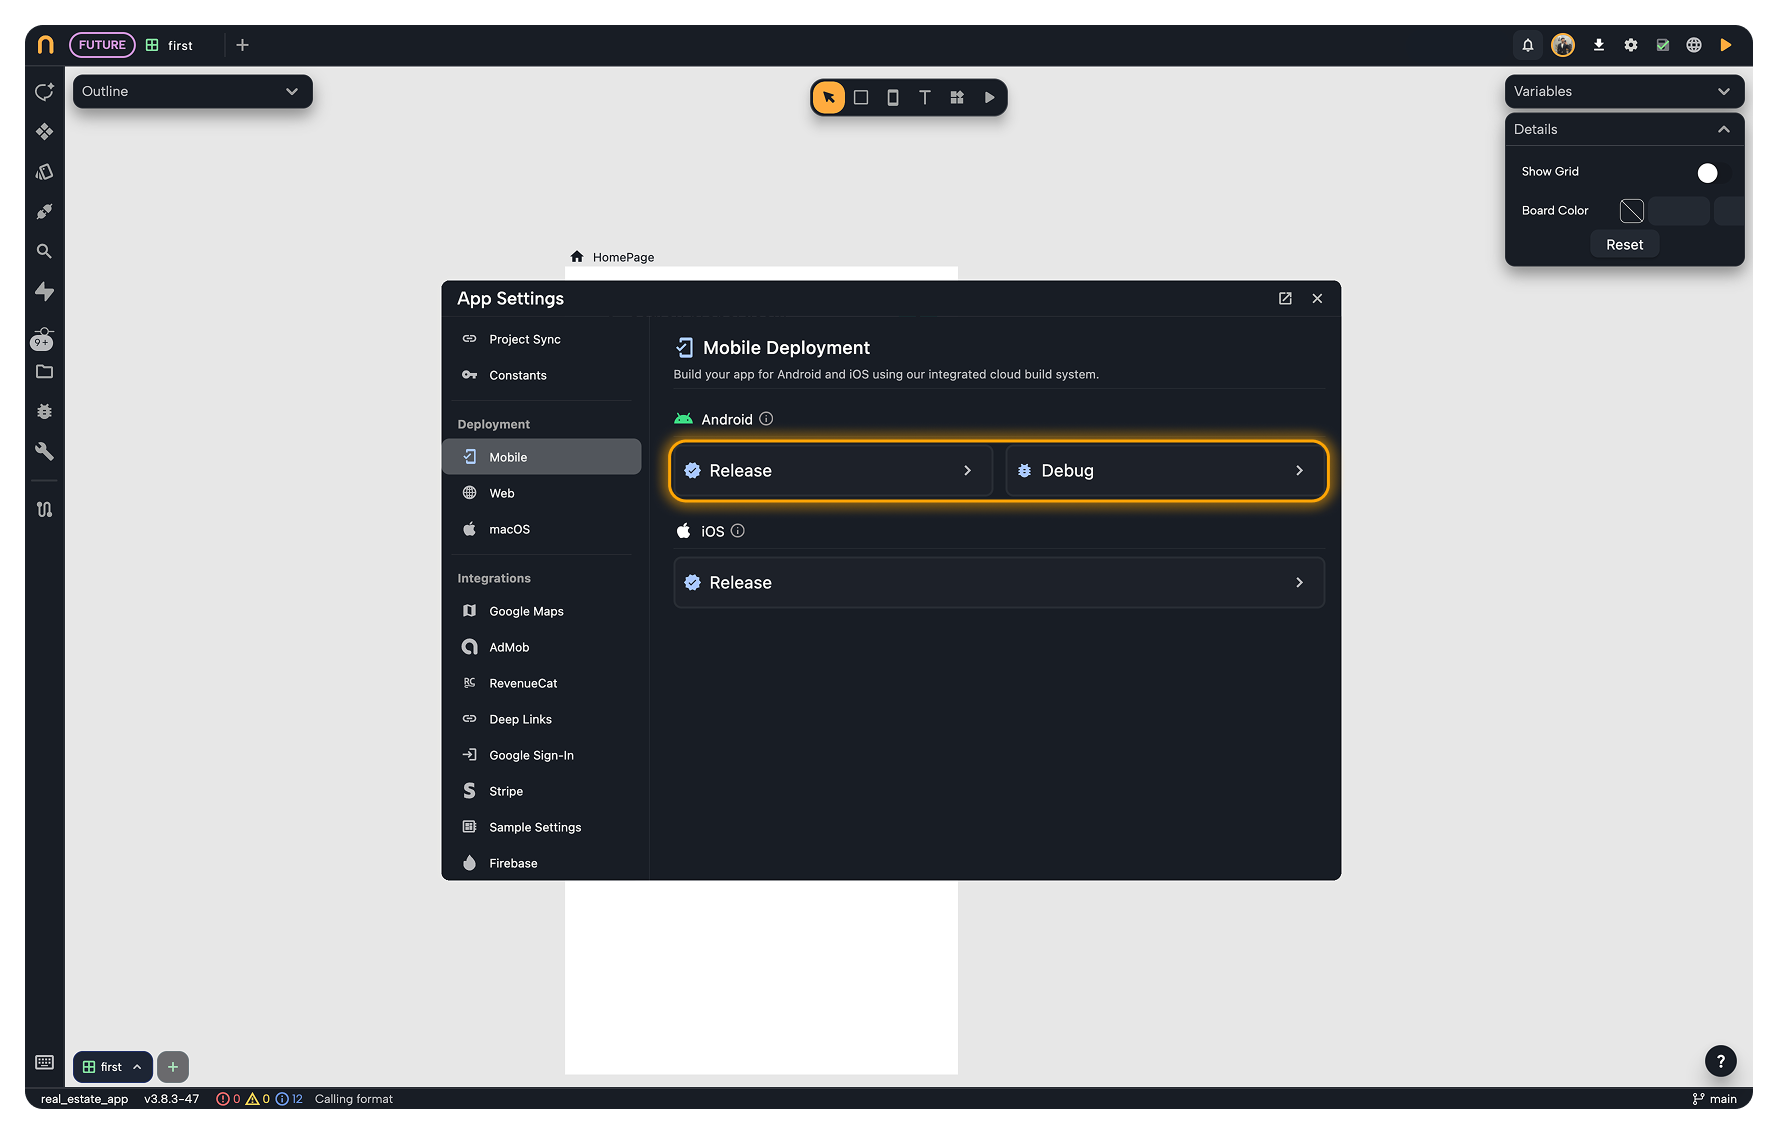
The Release build type is optimized for performance and is required to publish your app to the Google Play Store. You will need to sign your app with a valid signing key to publish it, more on that below.
The Debug build type is intended for testing and development purposes, it's optimized for faster build times, but it can't be published to the Google Play Store.
2. Sign Your App (Release Only)
If you chose the Release build type, you will need to sign your app with a valid signing key. You can either generate a new signing key or use an existing one. If you choose Debug, go to the next section to build your app.
The signing key is a critical component for Android app distribution. Without it, you won't be able to publish your app to the Google Play Store.
You will need to use the same signing key to release future updates to your app. If you lose your signing key, you won't be able to update your app on the Play Store, and users won't be able to receive updates.
Generate a New Signing Key
To generate a new signing key, follow these steps:
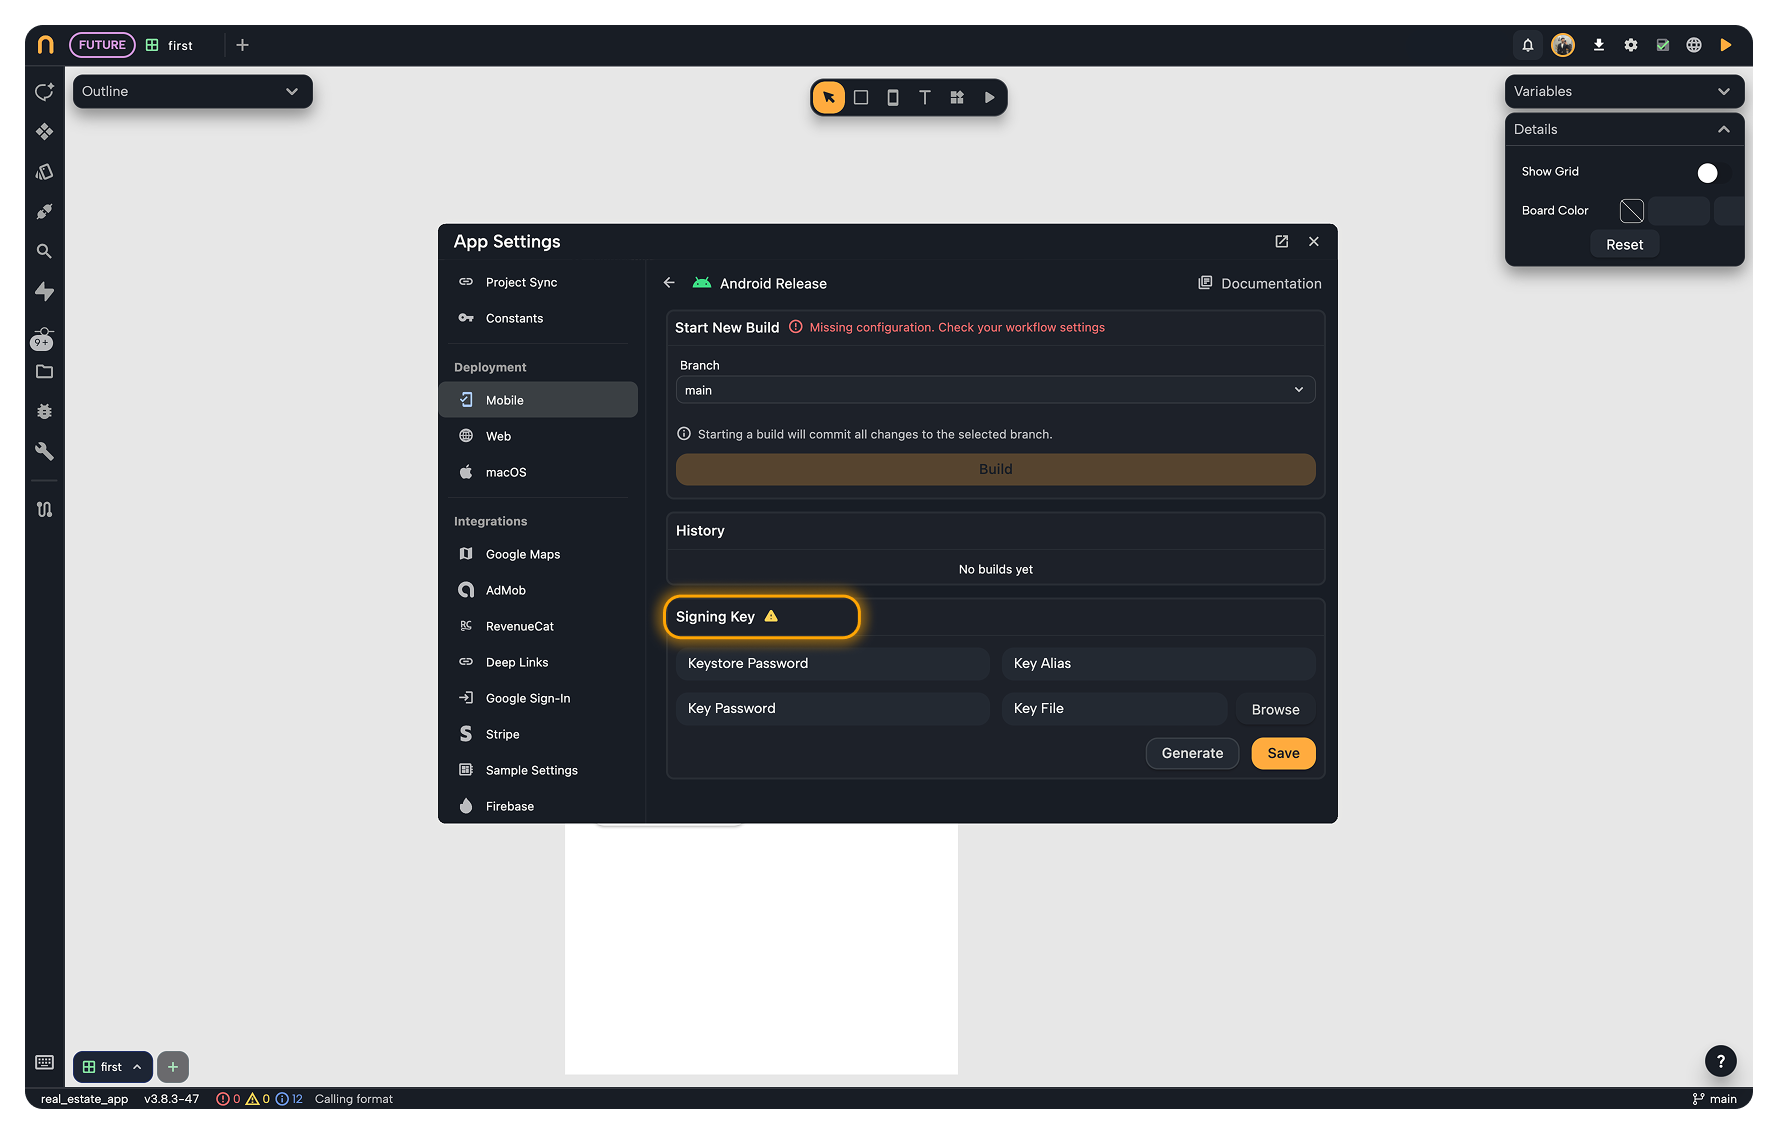
- Scroll down to the Signing Key section in the Android Release settings.
- Click on the Generate button. And wait for the process to complete which might take a few seconds.
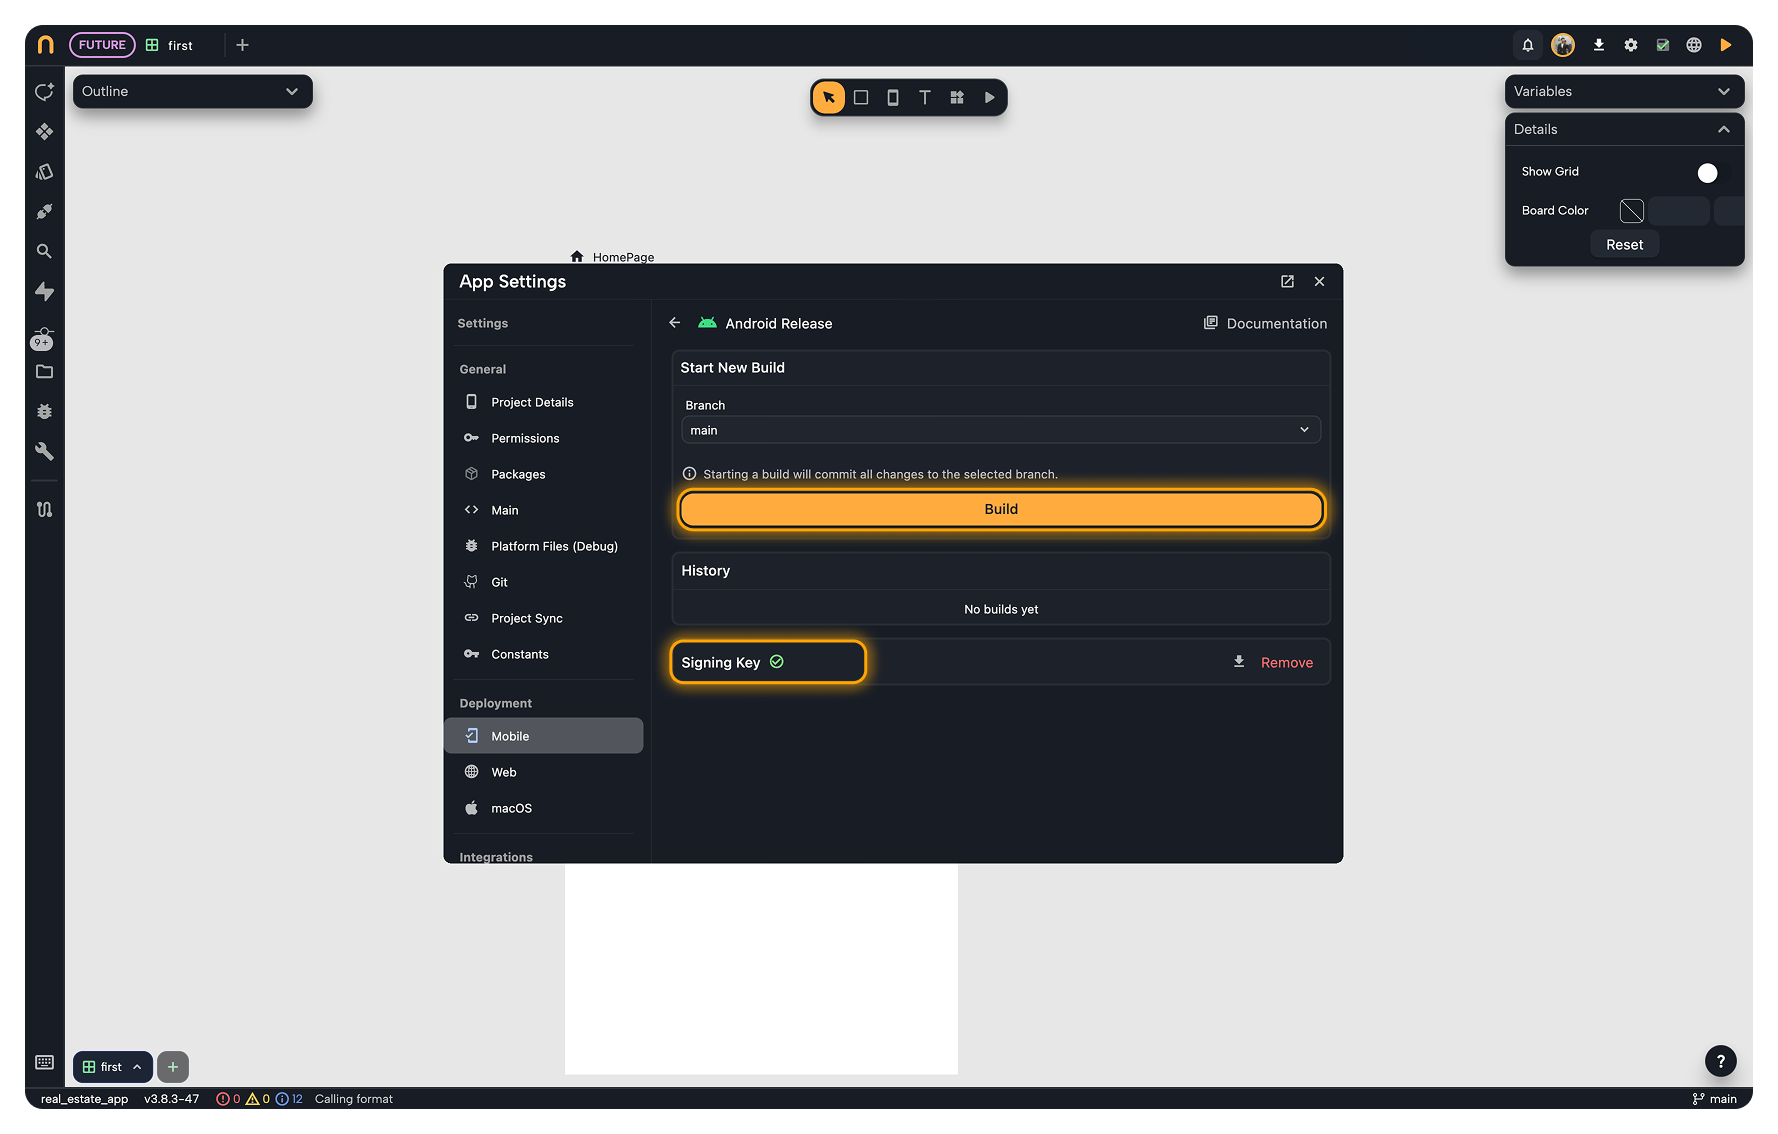
- Once the key is generated, you will see a green checkmark indicating that the key has been saved.
- IMPORTANT: Press the Download button to download your signing key and store it in a safe place. You will need this key to sign your app and publish it to the Google Play Store.
Nowa is not responsible for the loss of your signing key. Make sure to store it securely and create backups if necessary.
Use an Existing Signing Key
If you already have a signing key that you want to use, follow these steps:
- Scroll down to the Signing Key section in the Android Release settings.
- Fill in the required fields with the information of your existing signing key:
- Key Alias: The alias of your signing key.
- Key Password: The password for your signing key.
- Keystore Password: The password for your keystore file.
- Click on the Browse button to upload your existing keystore file (
.jks). - Once everything is filled in correctly, press Save to save your signing key information and wait for the process to complete.
3. Build & Deploy Your App
After signing your app (if you chose the Release build type), you can proceed to build and deploy your app to Android devices.
Follow these steps:
- Scroll back up to the top of the Android settings section.
- Choose a branch to build from the dropdown menu. This will be the branch that Nowa will use to build your app.
Nowa will automatically create a new commit on the selected branch with all the uncommitted changes in your project.
- Click on the Build button to start the build process. This will trigger Nowa to build your app for Android devices.
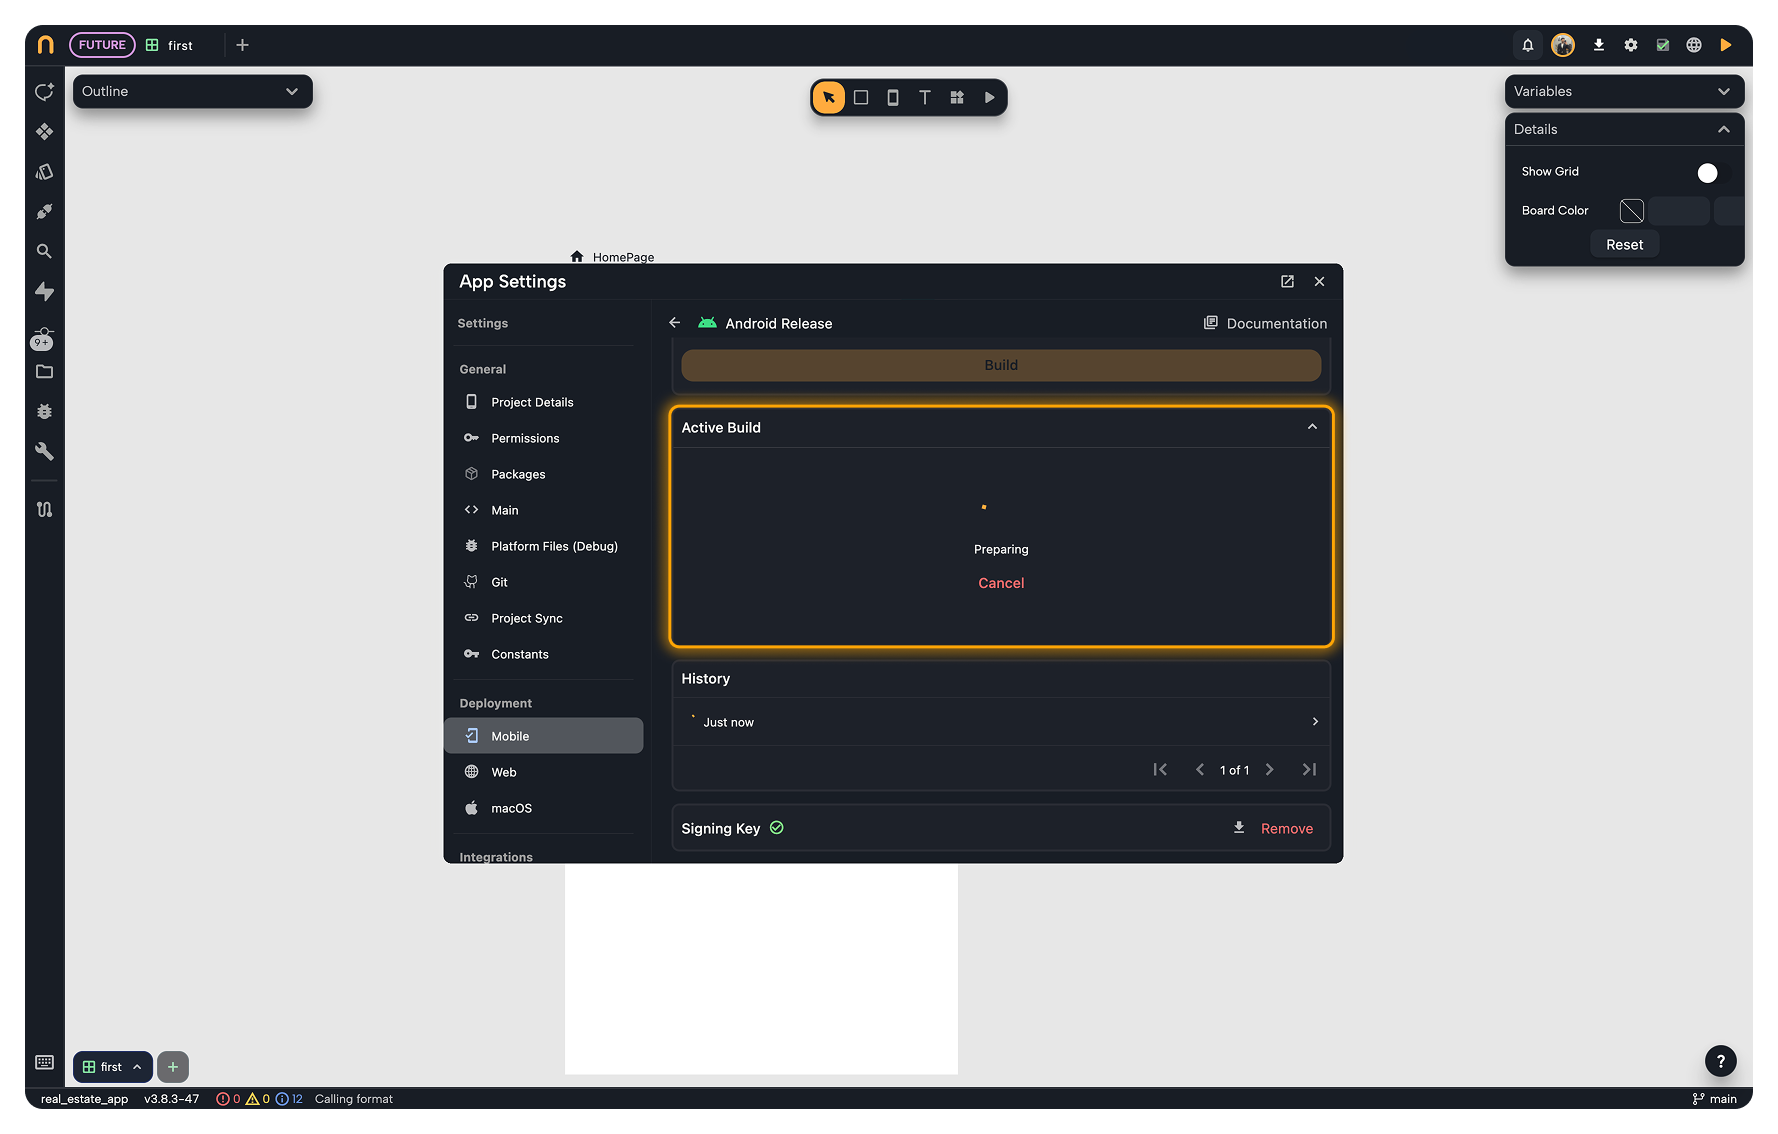
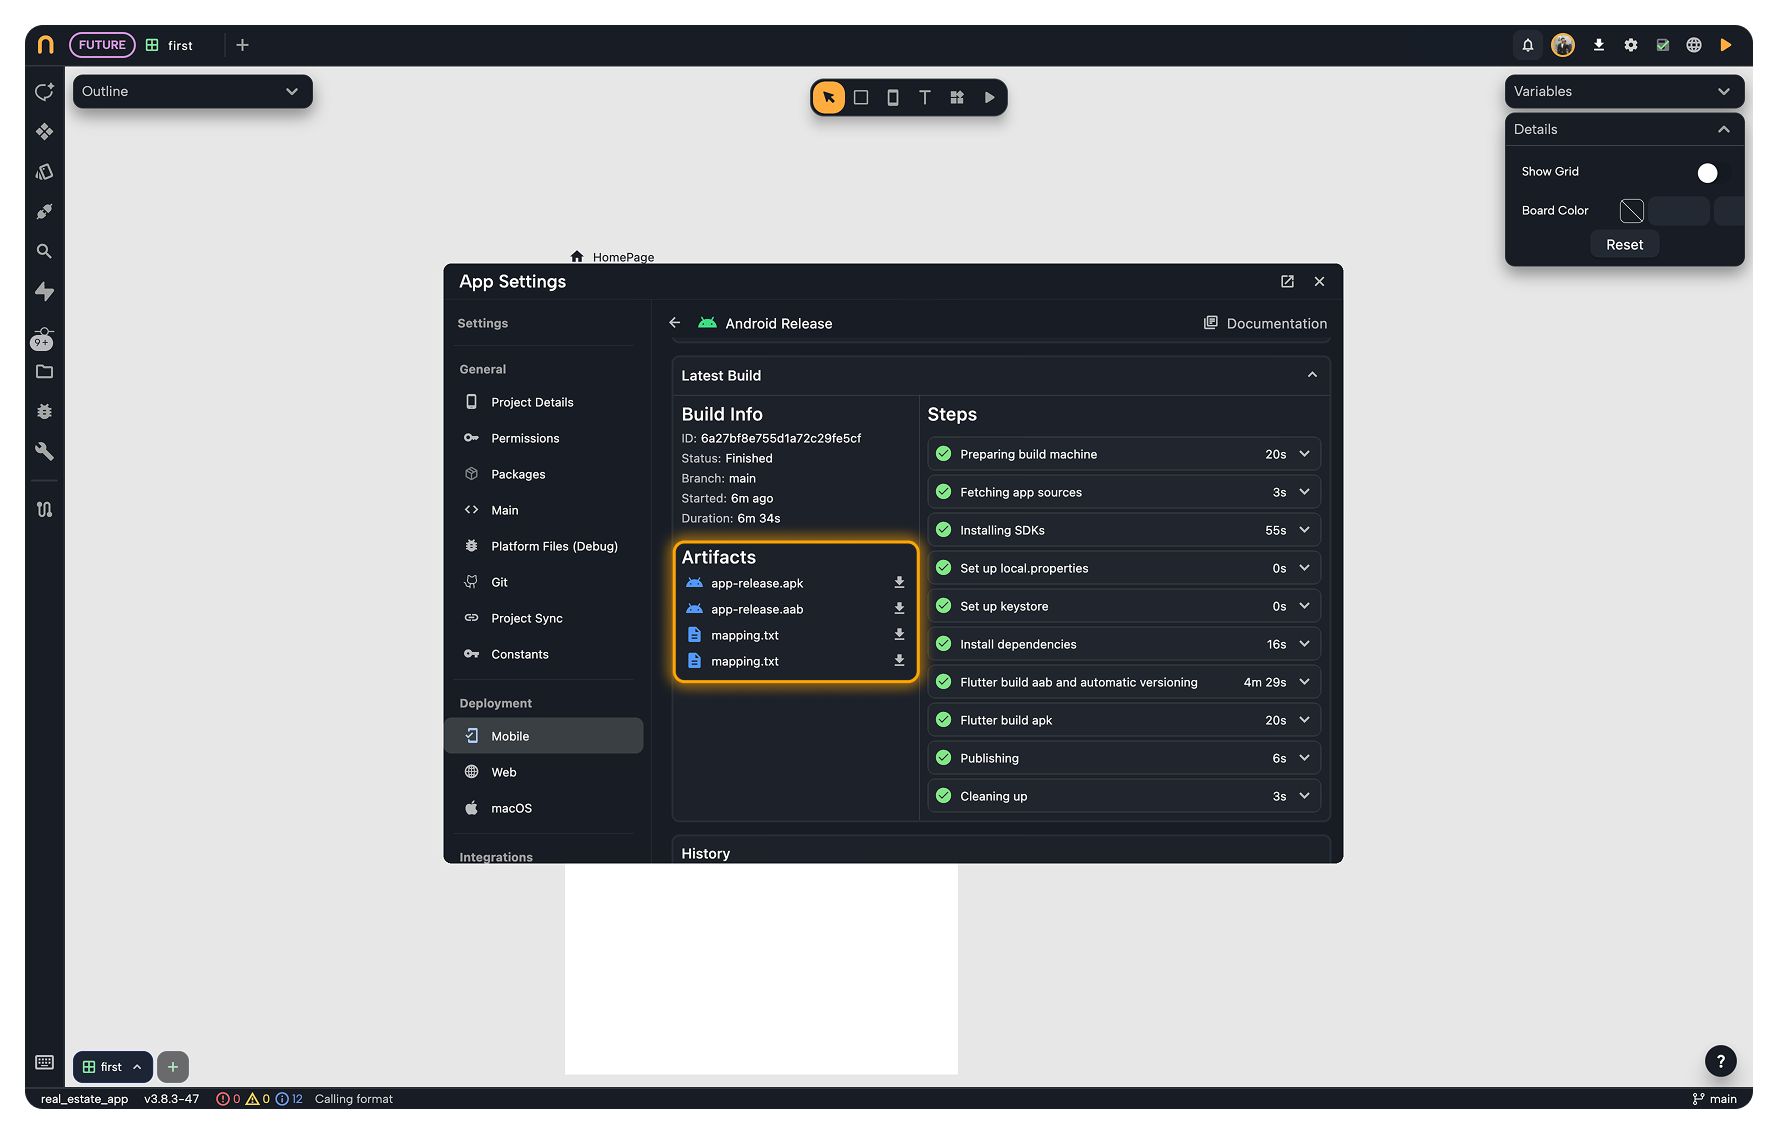
- Expand the Latest Build/Active Build section to see the status of your build. Wait for it to finish
- Click on the file name of the generated APK or AAB file to download it to your computer.
- Head on to the Google Play Console to upload your app and publish it to the Google Play Store.
Due to the ever changing nature of the Google Play Console, we recommend referring to the official Google Play Console documentation for the most up-to-date instructions on how to upload and publish your app.