Testing on Actual Simulators/Real device
One of the key advantages of using Nowa Desktop for your Flutter development is the ability to test your app on actual emulators and real devices. This guide will walk you through the steps to test your app effectively and take advantage of Flutter's powerful hot reload feature.
If you are a video kind of person, check this video out:
Setting Up Local Projects for Testing
As mentioned earlier, you can create a local Flutter project using Nowa Desktop. This allows you to test your app on various simulators or even on an actual smartphone. Here’s how you can do it:
1. Instant Preview with Nowa
- Quick Preview: To get a quick preview of your app, you can click on the
Playbutton inside Nowa. This will provide an instant preview within any frame you choose (e.g., iPhone, iPad, Android Pixel, Samsung tablets, Desktop, etc.). - Preview Limitations: While the previewer is useful, it has certain limitations. For example, it allows you to test Firebase Authentication features like signing in, but it doesn’t perform the actual sign-in or sign-up process. For full functionality testing, you'll need to run the app on a real simulator or a physical device.
2. Running the App on a Simulator
To run your app on a simulator, follow these steps:
-
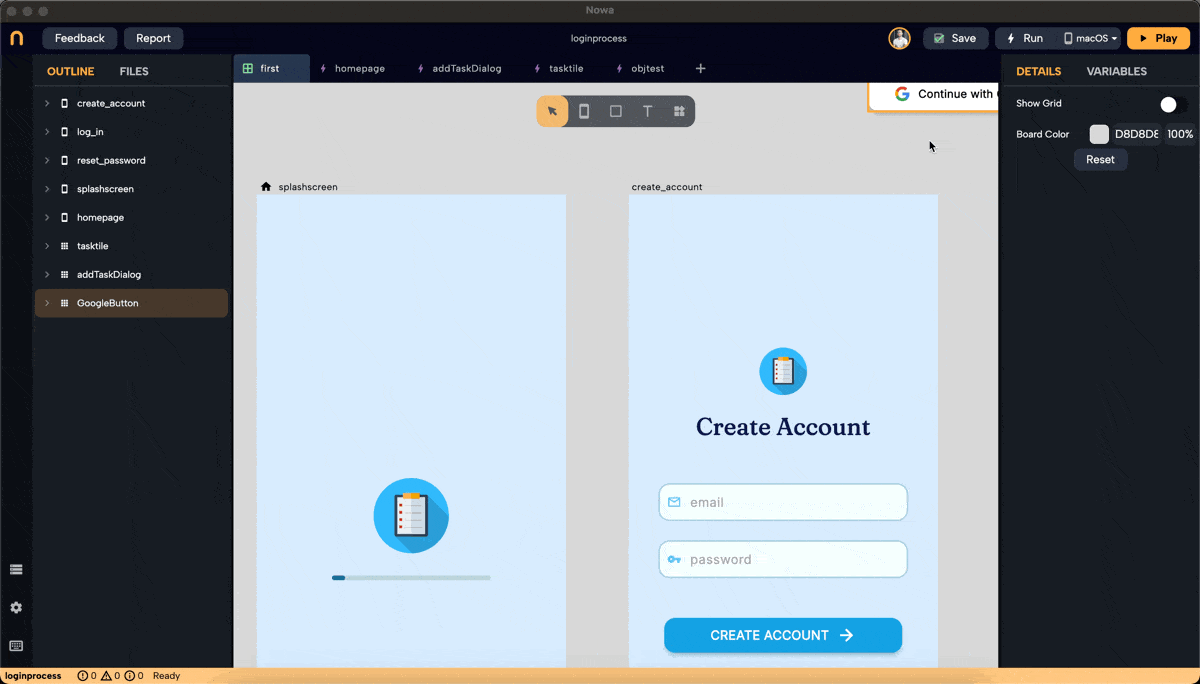
Ensure It's a Local Project: Make sure you’re working with a local project (it won’t have the cloud icon at the project thumbnail from the main dashboard). Only local projects can be run on simulators or real devices directly from Nowa.
-
Running the app on the Simulators:
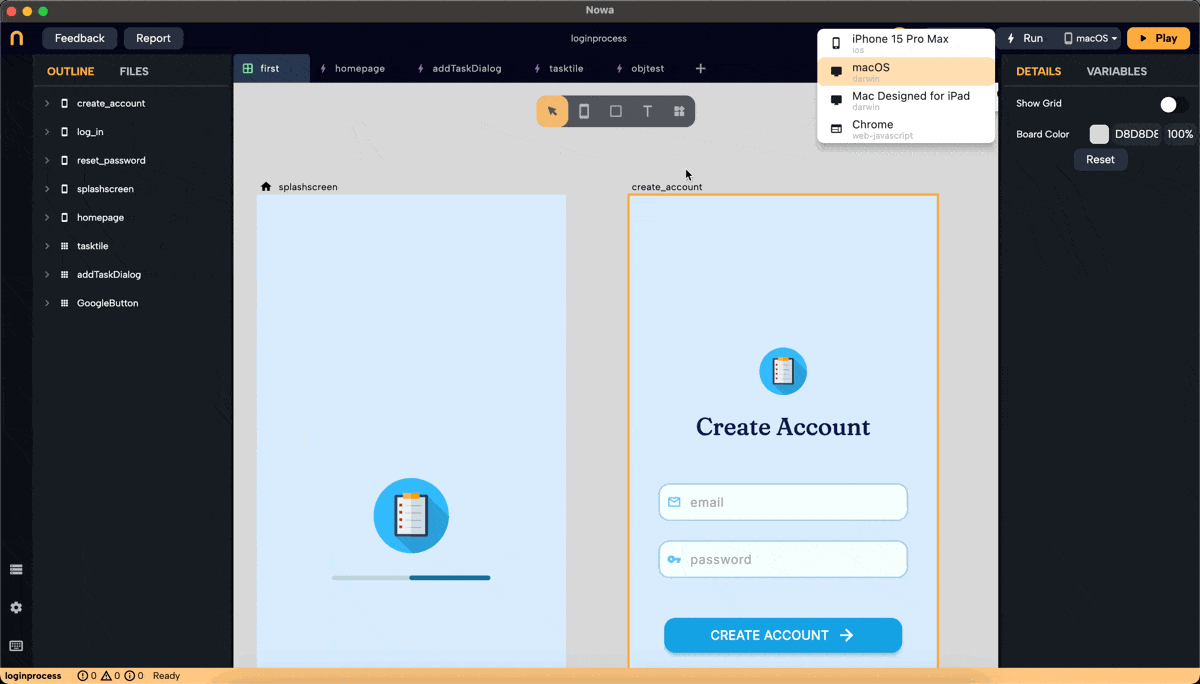
- At the top right of Nowa Desktop, you’ll see a menu that includes:
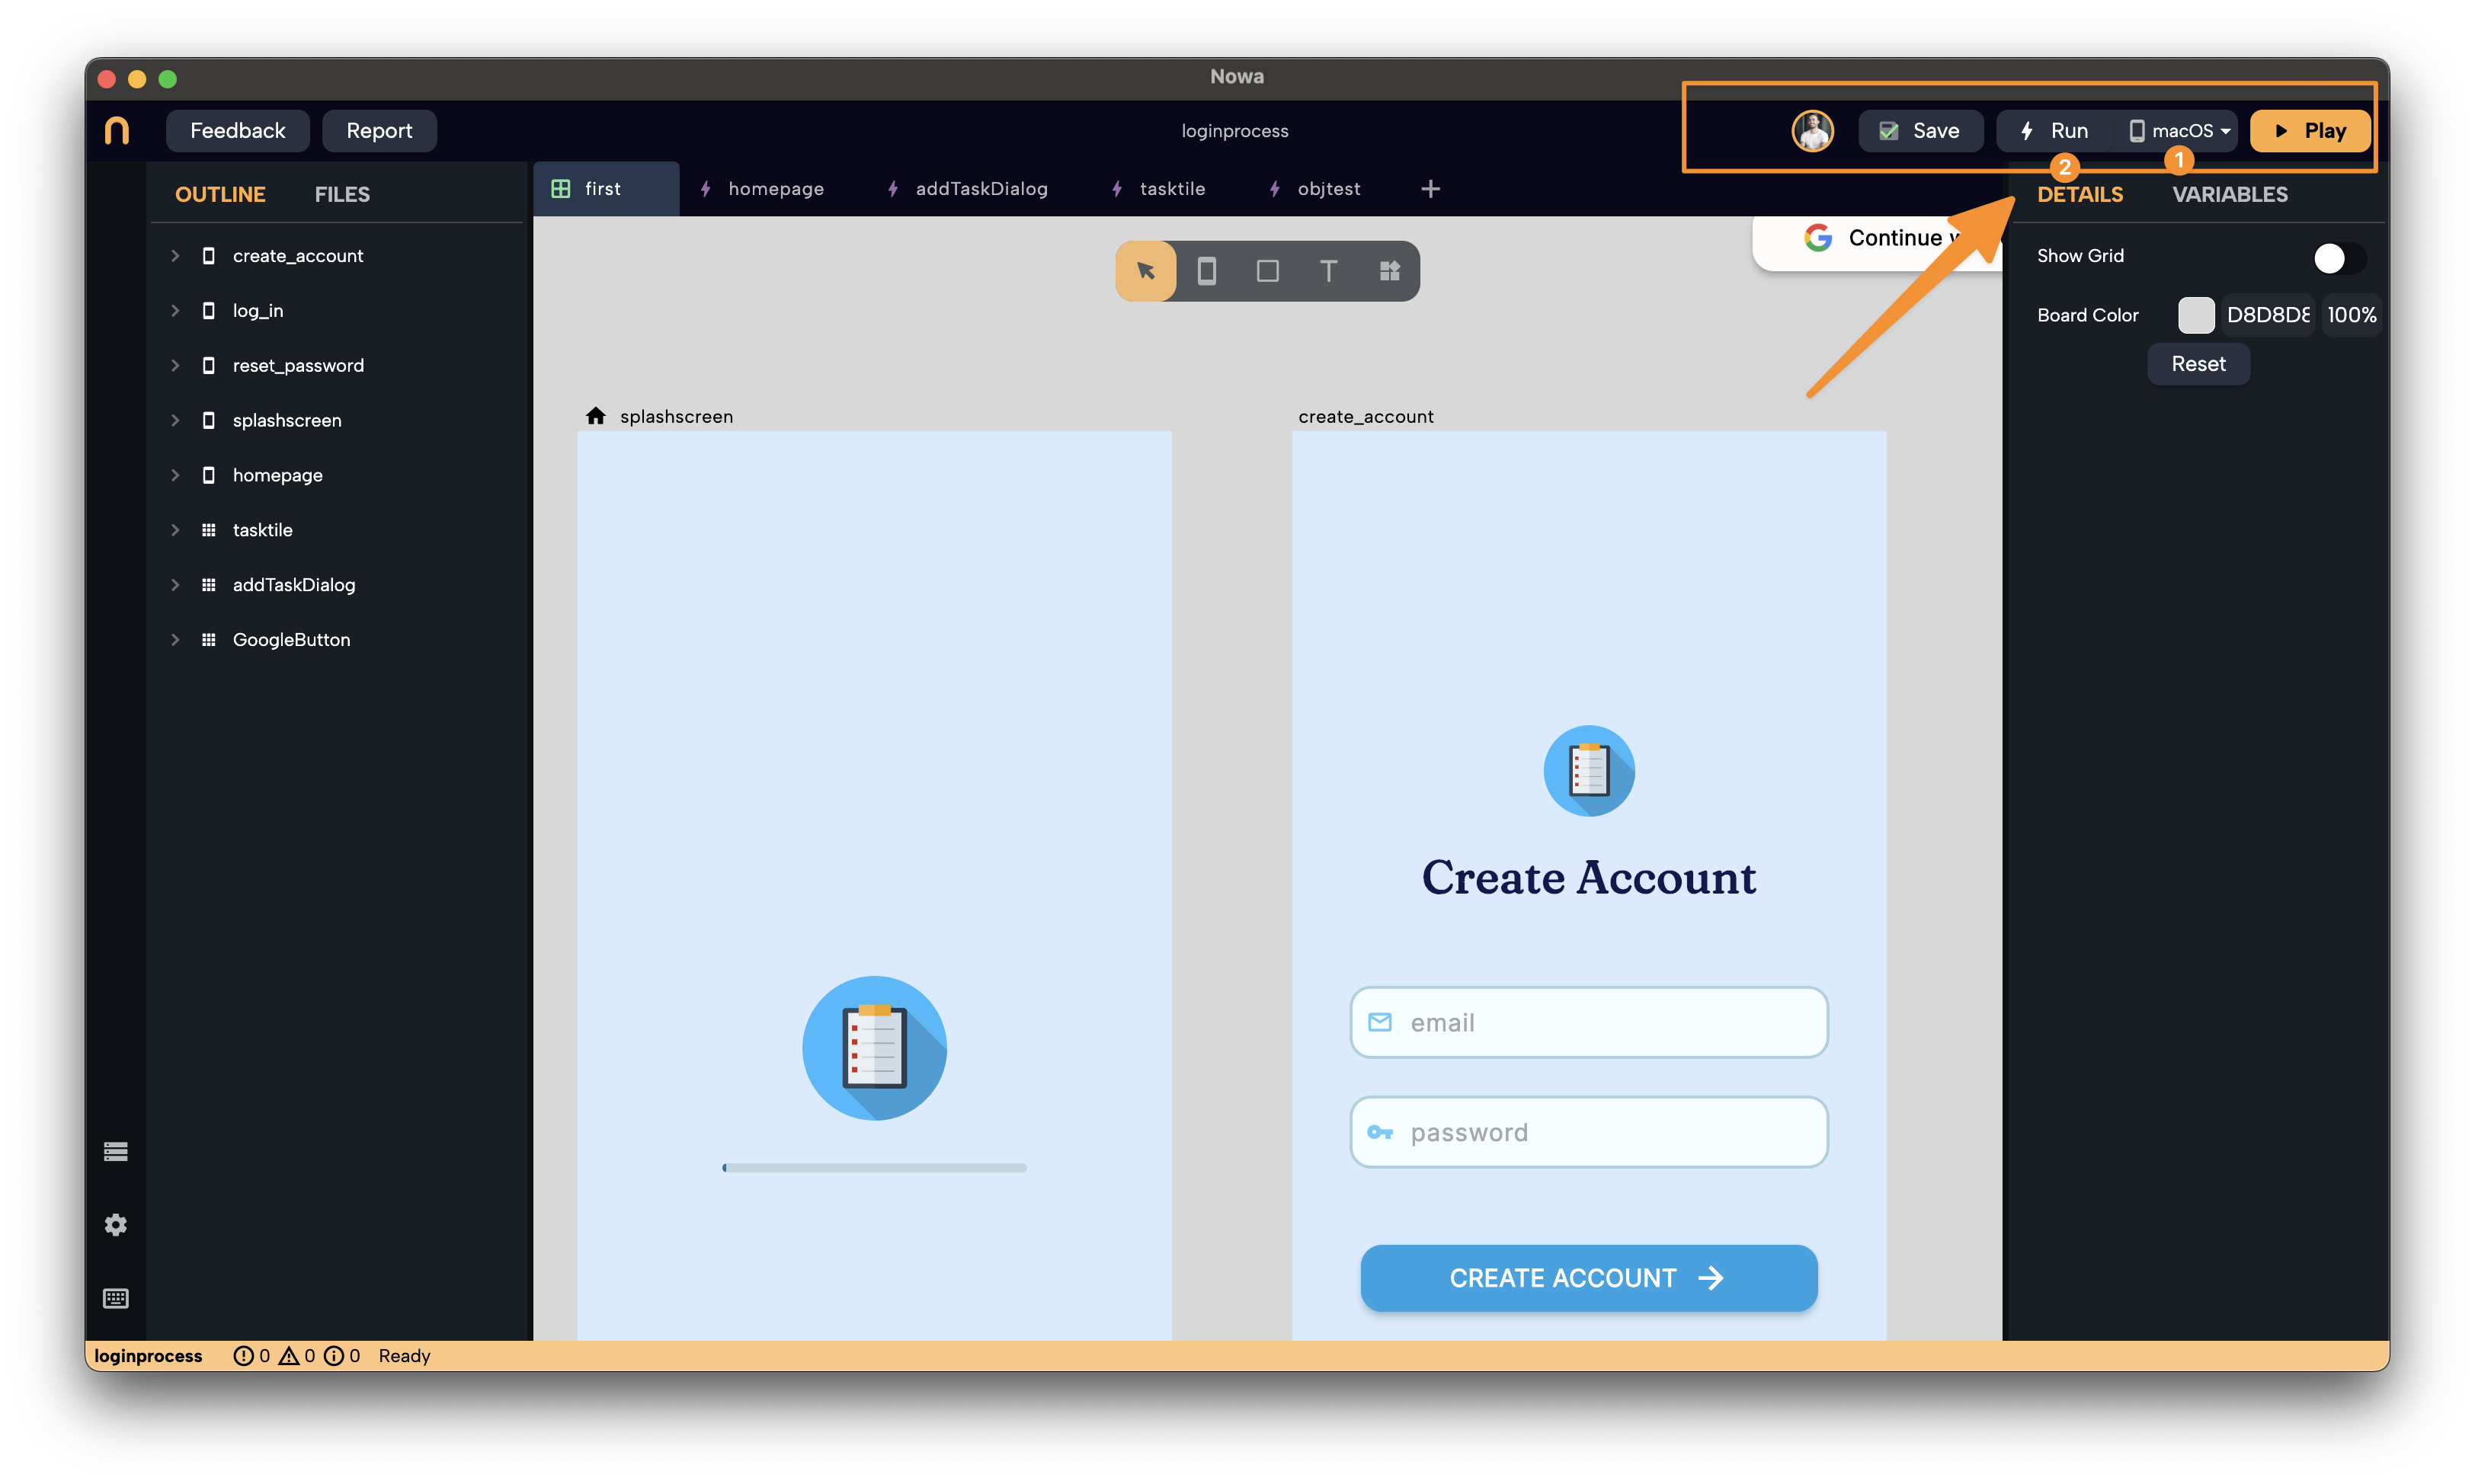
- List of Simulators: This shows the simulators currently running on your machine. You might see options like Chrome, macOS (if on a Mac), or Windows (if on Windows). For Android or iOS simulators, you might need to start them first (more details below).
- Run Button: This button runs the app on the selected simulator. Logs will be displayed in the
Logstab at the bottom of Nowa once the app starts running.
- At the top right of Nowa Desktop, you’ll see a menu that includes:
-
Stopping the App: After running the app on the simulator, to stop the simulator, click the stop button (2).
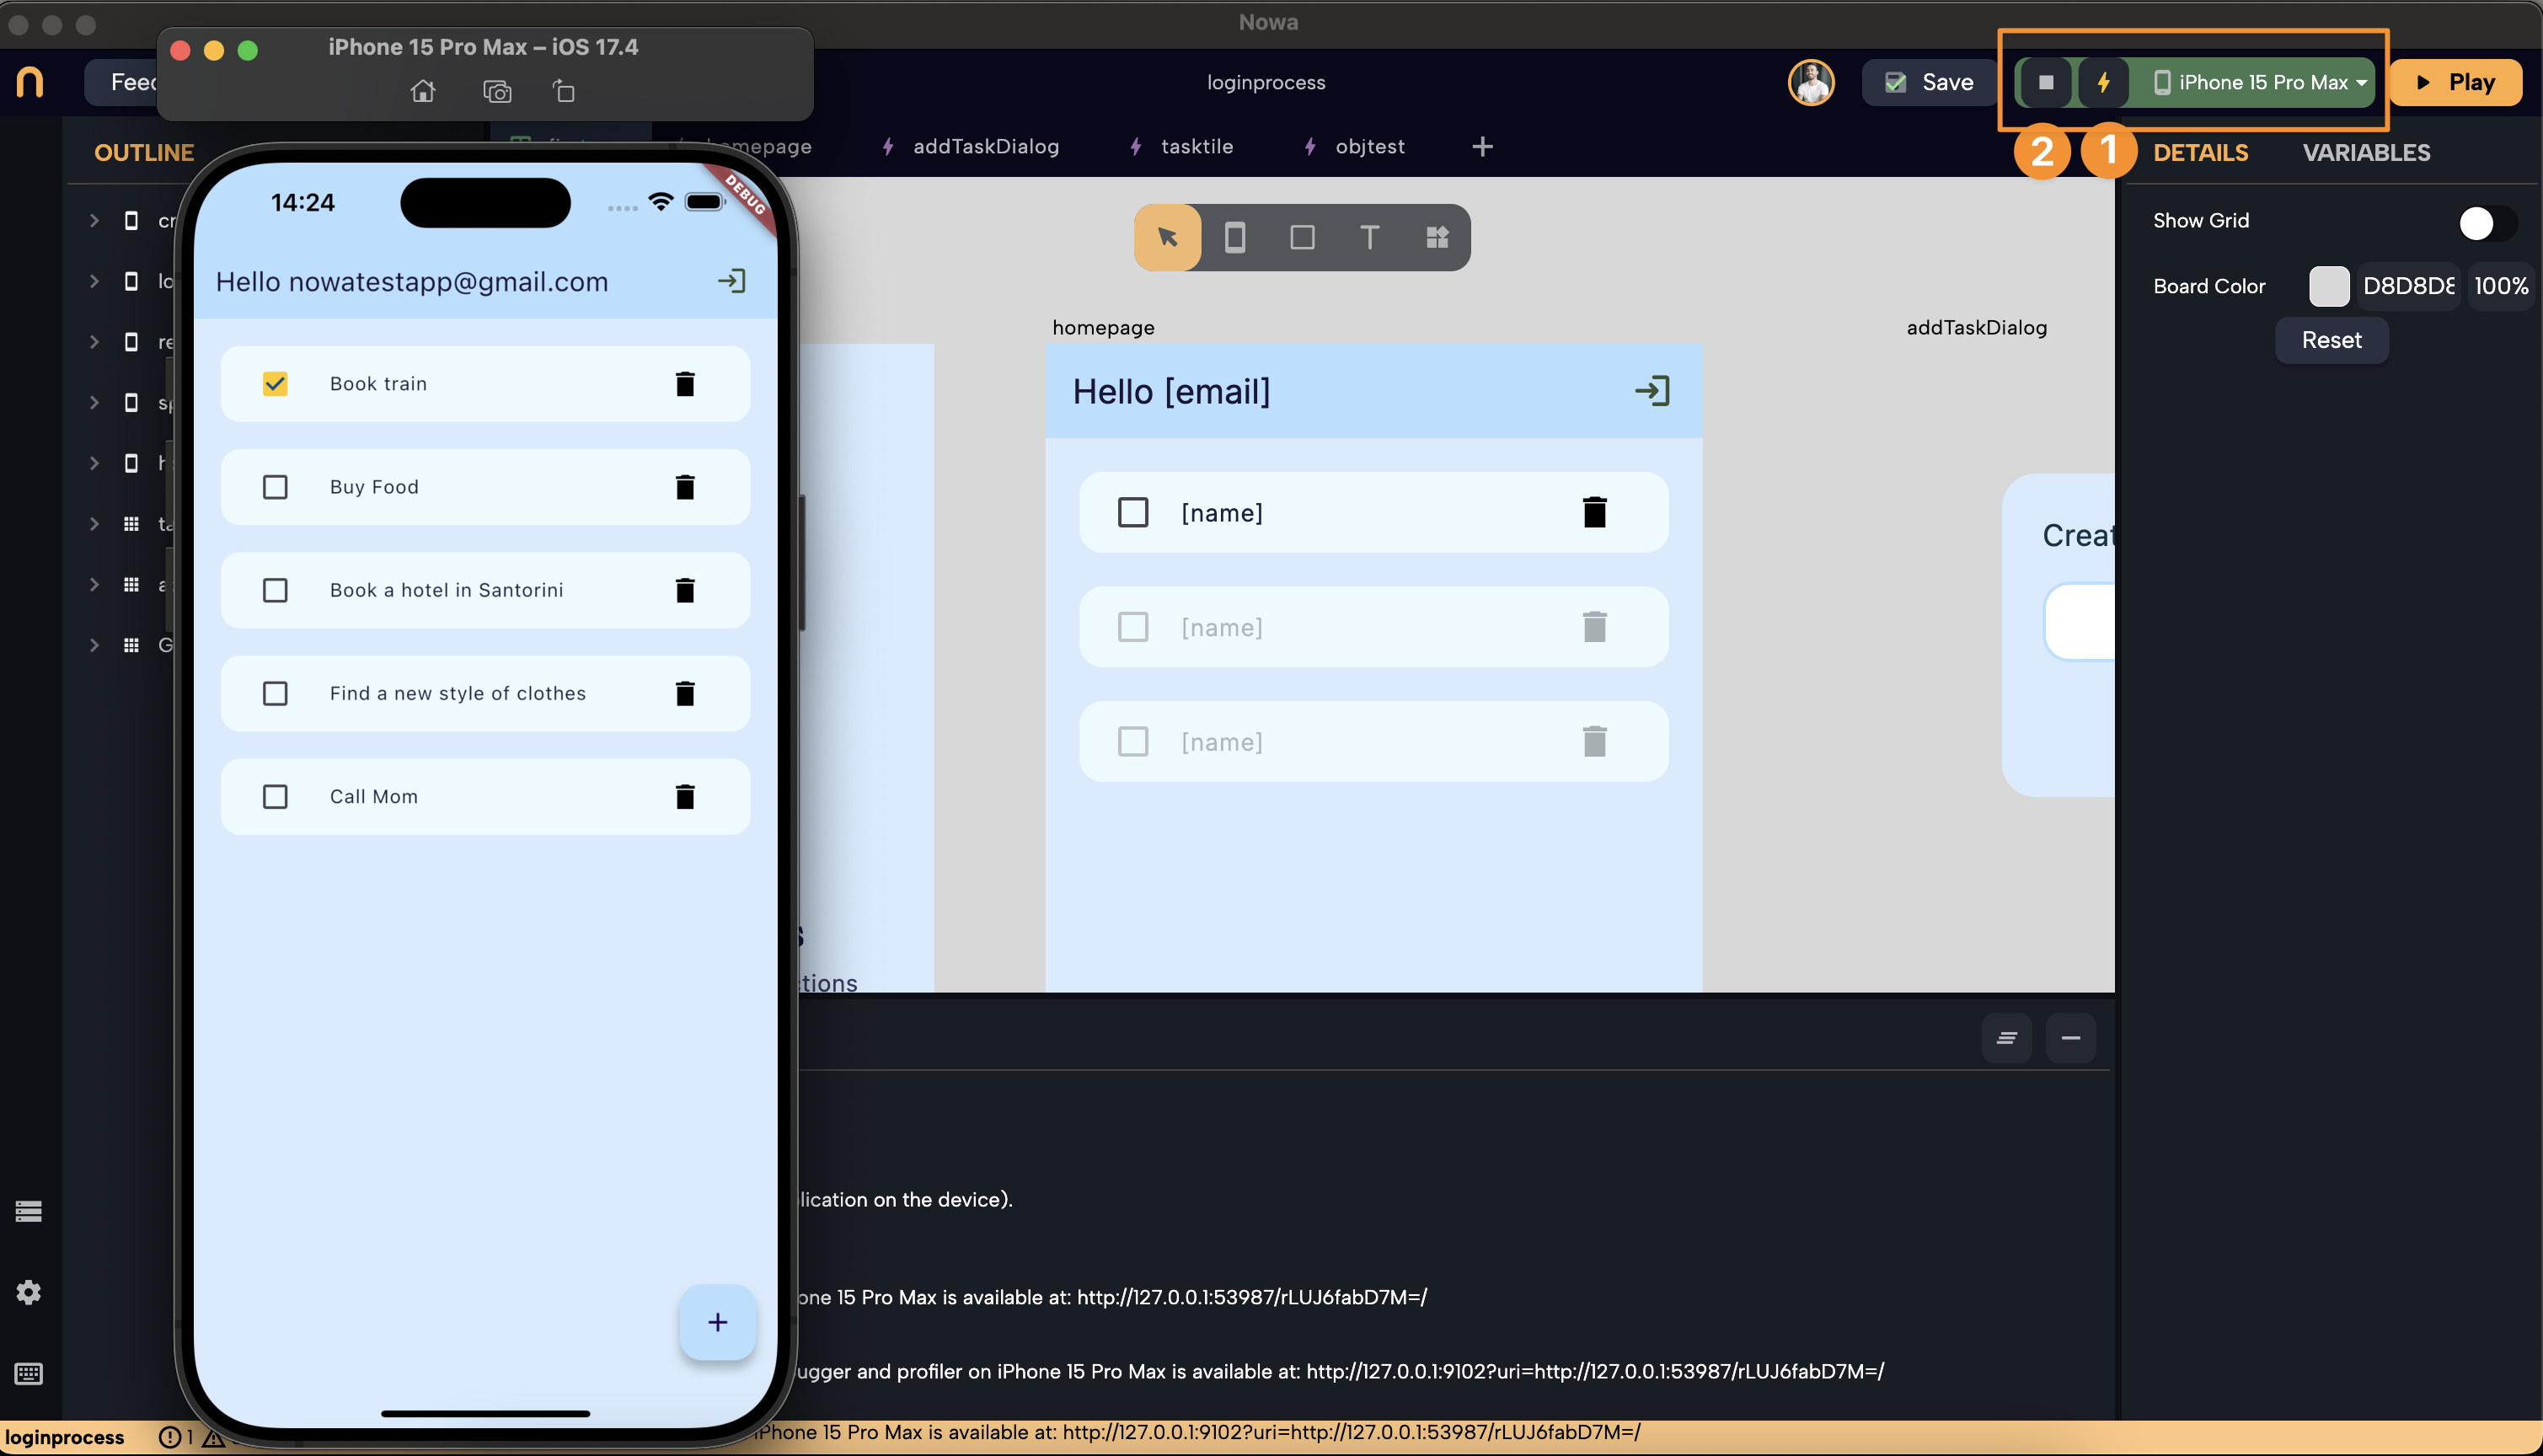
- Hot Restart: If you make changes to your project while it’s running on the simulator, you can click on the
Hot Restartoption (1) to quickly restart the full app and apply the changes.
3. Managing Simulators
If you don't see the desired simulator listed in the menu, it might not be running yet. Here’s how to manage this:
- Starting Simulators:
- iOS Simulators: For iOS, simply run the Simulator app on your Mac.
- Android Simulators: For Android, you can start the emulator from VS Code or Android Studio.
In the below example, we can't see the iOS simulator, so we run it first:
-
Refreshing the Simulator List: After starting the simulator, return to Nowa Desktop and reopen the simulator list menu. It might take a few seconds for the new simulator to appear. Keep checking until it shows up.
4. Running the App on an Actual Smartphone
To run your app on a real device, follow these steps:
- Connect Your Smartphone: Plug your smartphone into your computer via USB. You might need to enable "USB debugging" on your device to allow it to be recognized.
- Select Your Device: After connecting, your device should appear in the simulator list within Nowa Desktop. Select it and click
Run. - Side Note: Since your project is a local Flutter project, you can also open it in your preferred IDE (e.g., VS Code or Android Studio) and run the app on a simulator or device from there. Any changes you make in Nowa will be reflected in the local project and can be seen in your IDE.
Check out the Youtube video on top to see how you can test your Nowa app on an actual smartphone